Title Page
-
K2i Robot Daily Robot Maintenance
-
SOP #0001
-
CNC
-
Conducted on
Purpose
-
A clear step by step list of procedures of the morning cleaning and lubrication required before the morning test piece is run. To prolong the life of the HSK clamping unit and robot spindle.
Scope
-
To provide clear instructions in step by step fashion to insure proper maintenance procedures are followed in an efficient manner.
Materials Needed
-
Air gun
-
Safety Glasses
-
Nitrile gloves
-
Shop Towels
-
Grease gun with normal Hundegger grease
-
HSK dust wiper
-
Kluber ALTEMP Q NB 50 Spray
Procedures
-
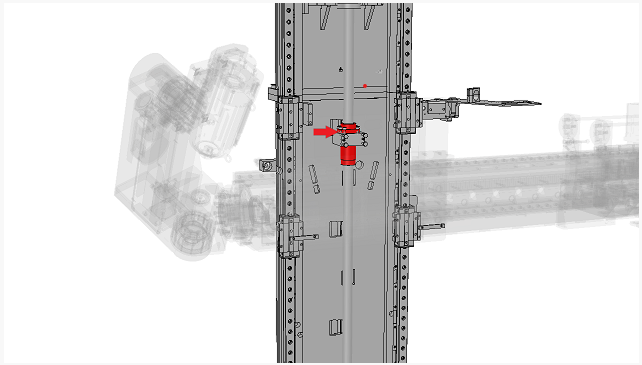
Push E-Stop button (A11) Go into machine and blow down the robot and magazine area. Make sure the dust collector fan is on.
-
Ensure the Robot is in the home position.
-
Grease the robot z axis ball screw with 1 pump of grease.
-
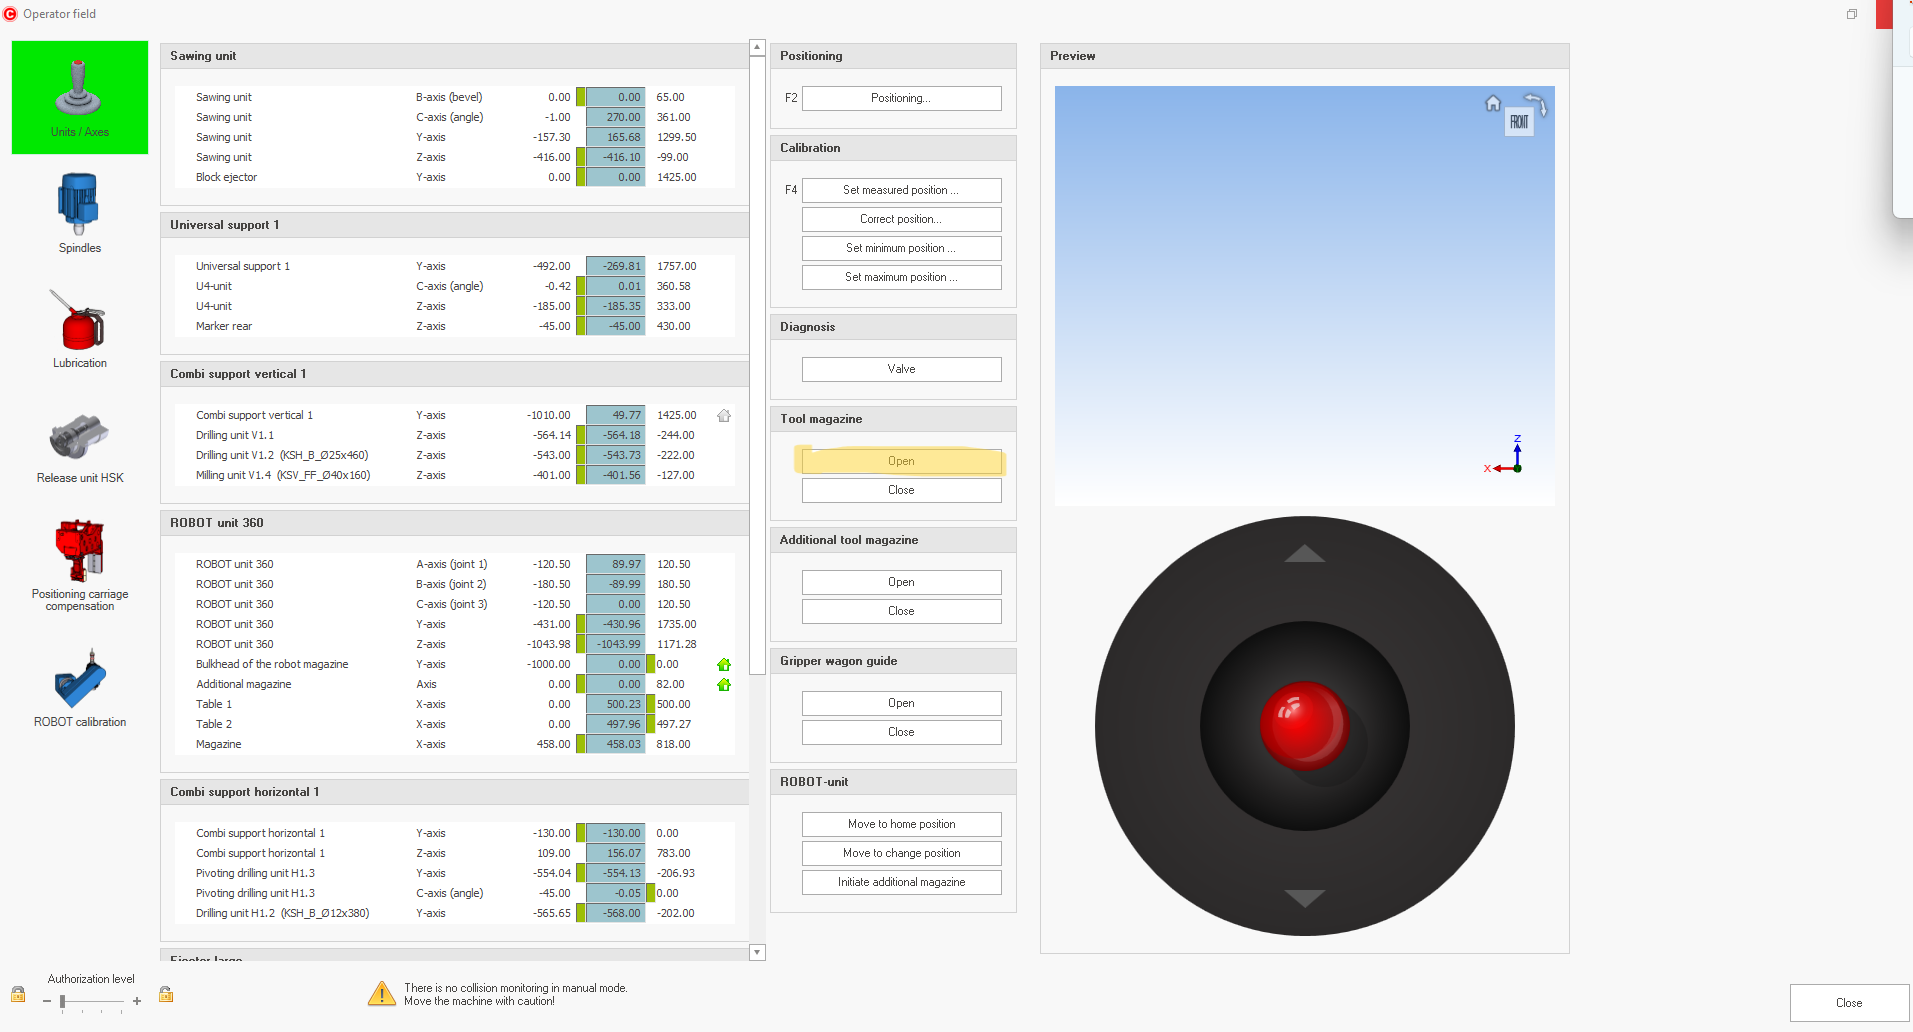
Open the manual operation window (ctrl+h)
-
Click Open Tool Magazine button
-
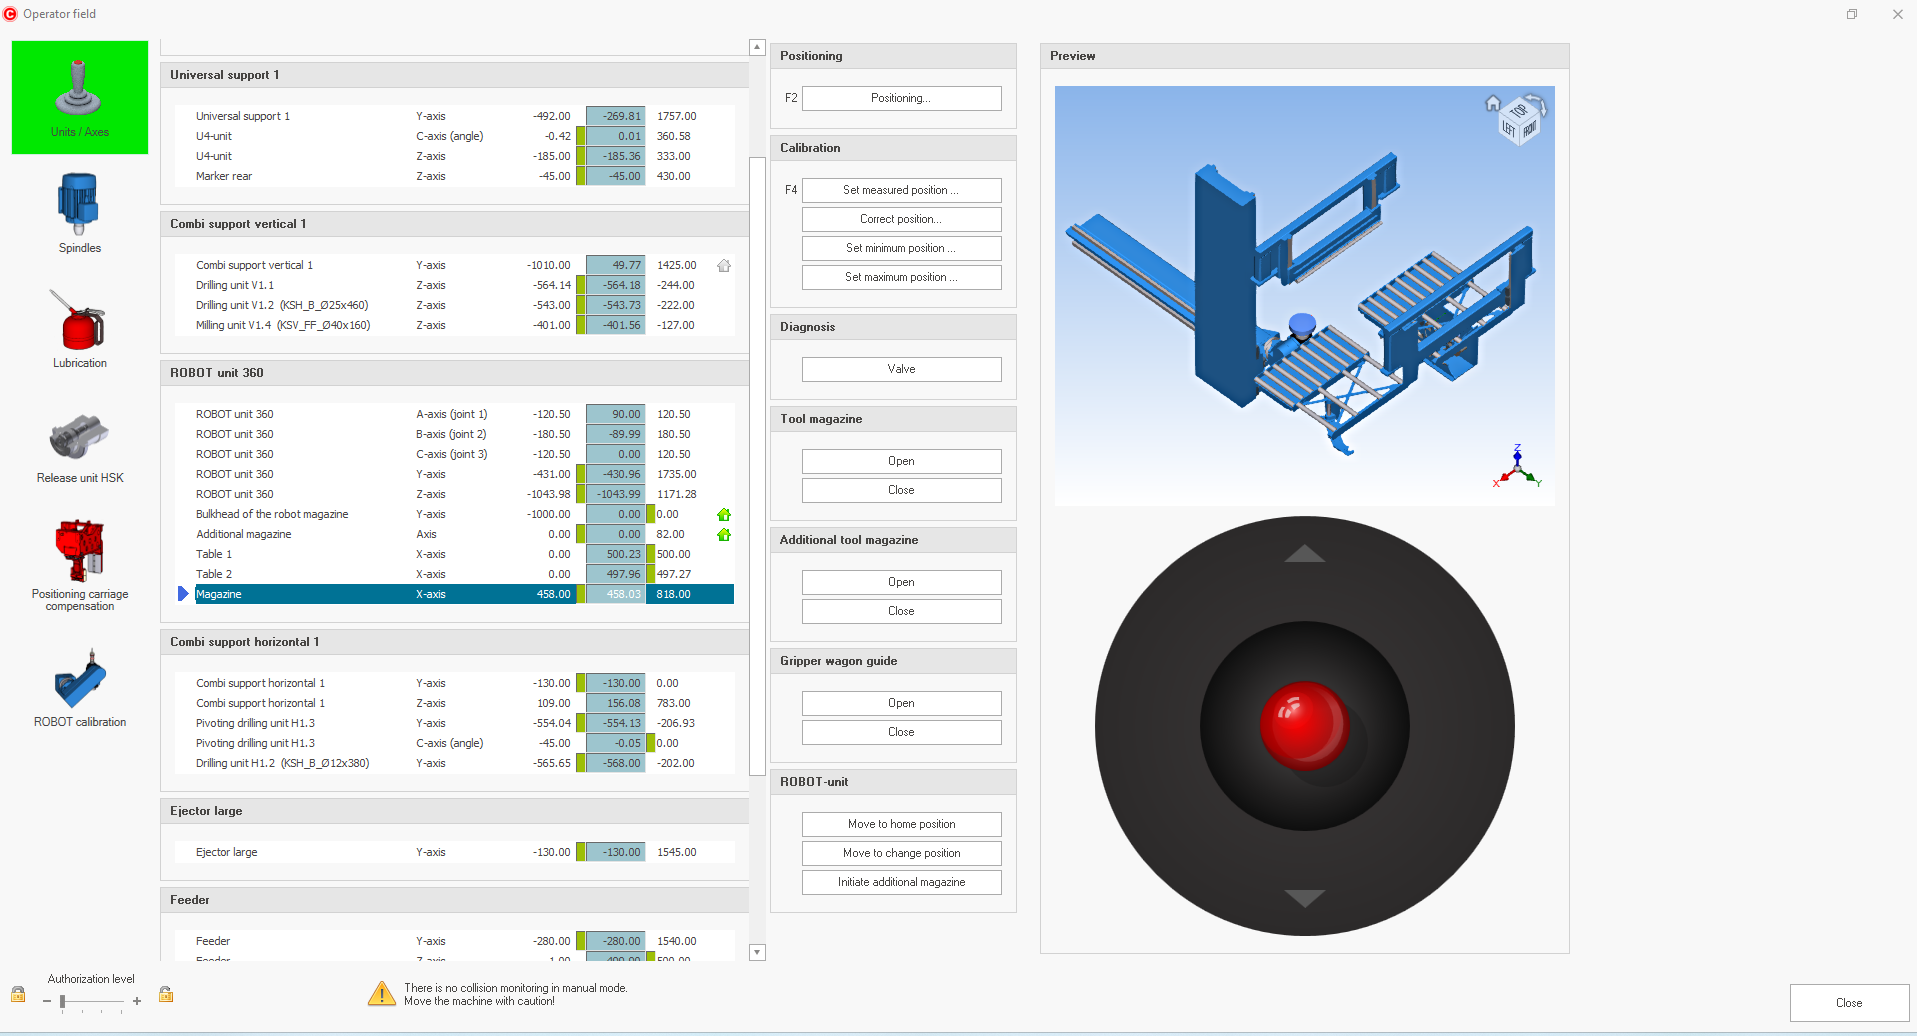
Click on Robot unit 360- Magazine, Then push and hold the joystick away from you until the magazine is completely out and stopped.
-
Using the air gun with light pressure, blow down all hsk holders in the magazine
-
With a clean shop towel wipe all hsk holders inside and out ensuring no dust or grime is on them. Inspect for any signs of wear.
-
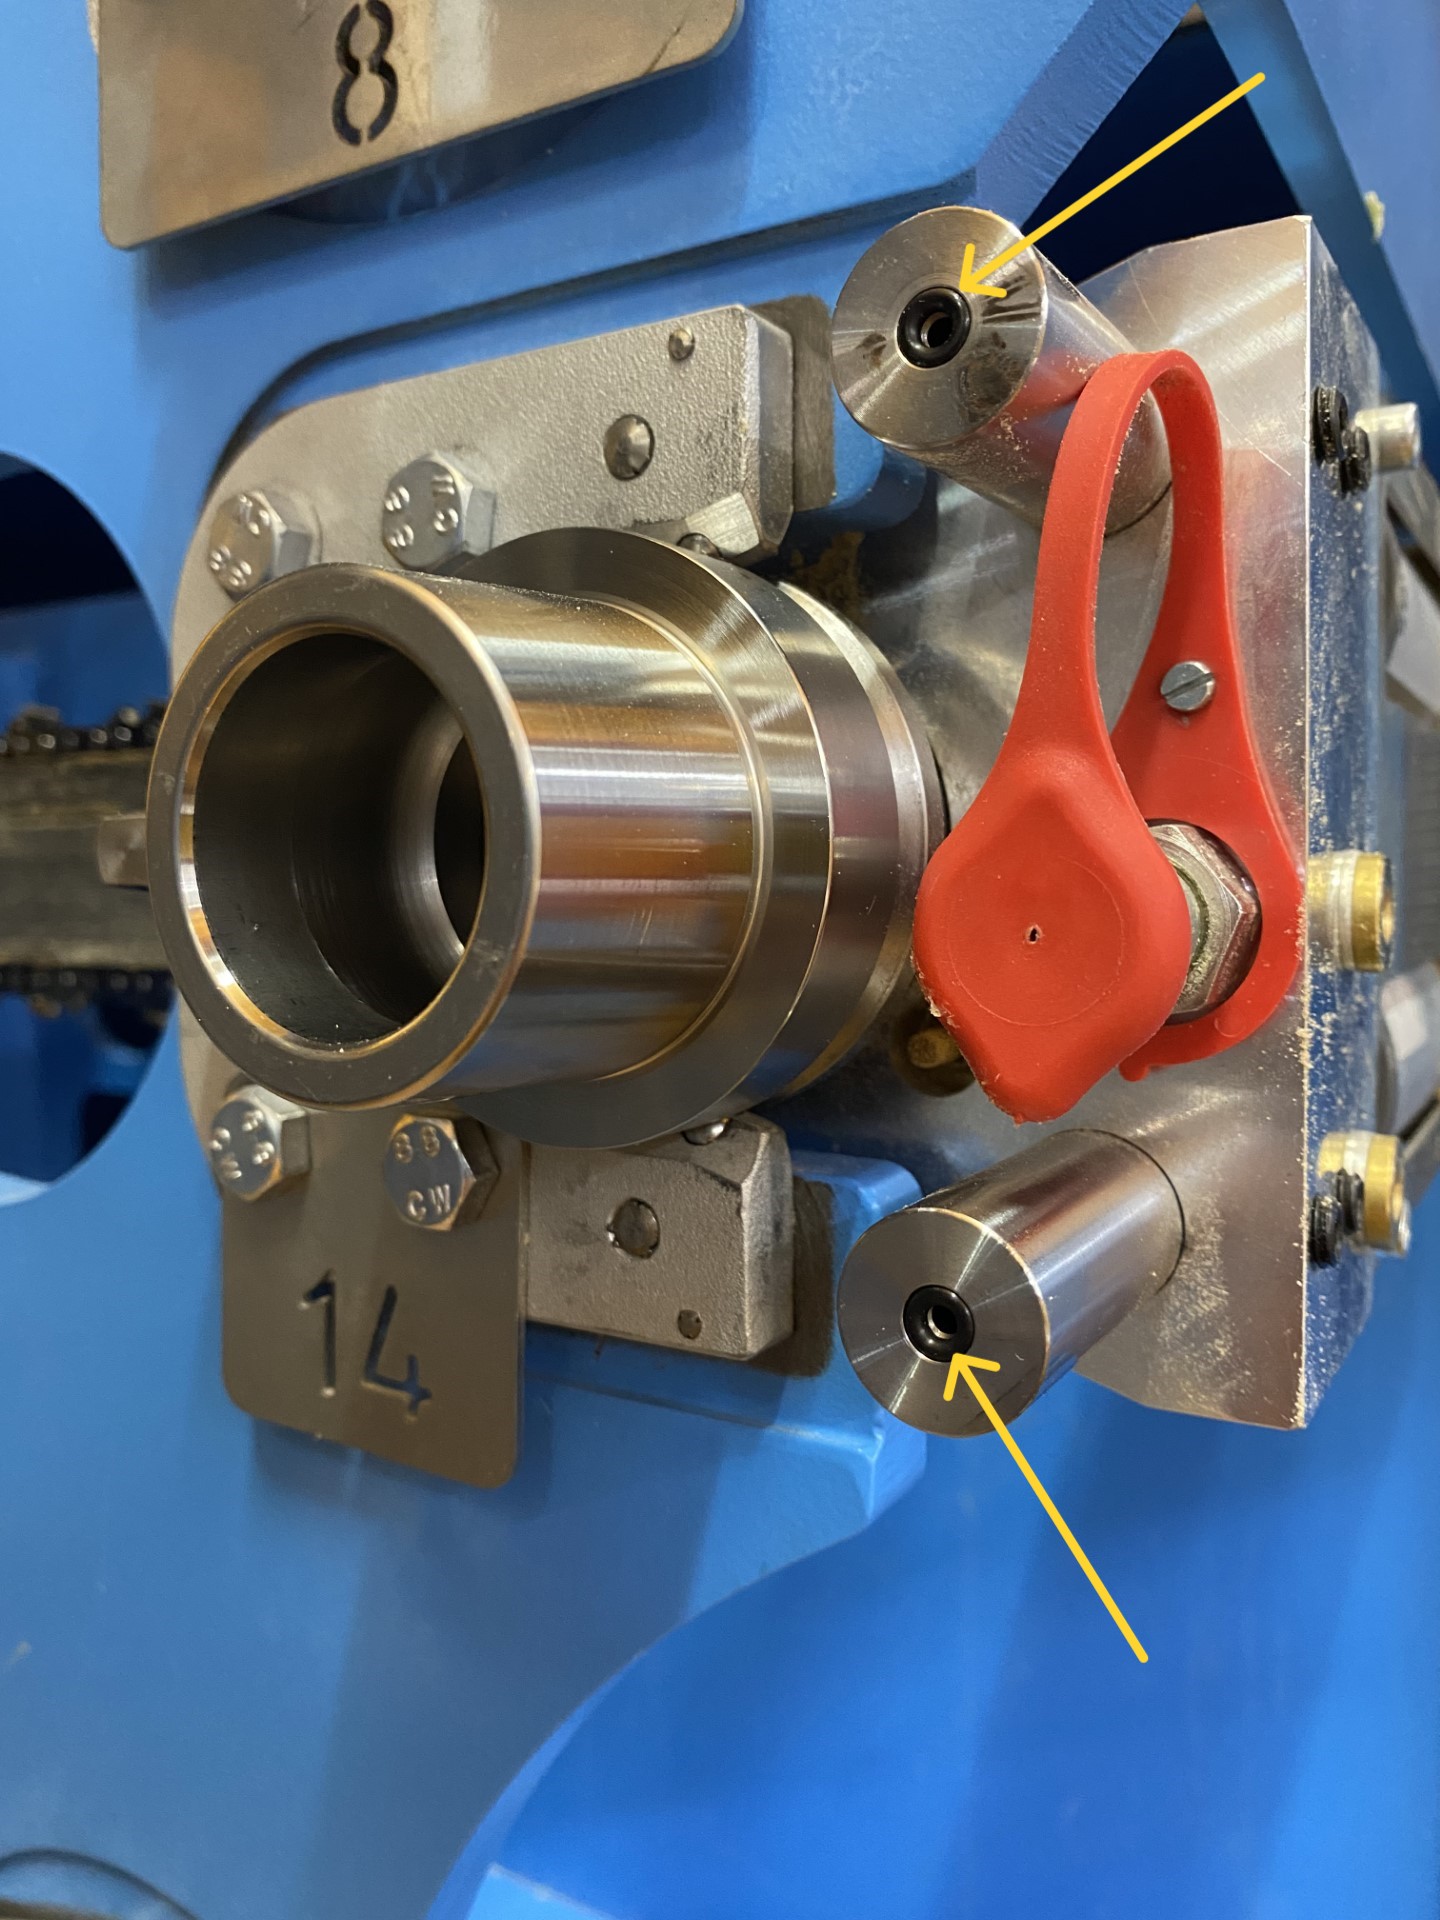
Inspect the 423x8KH chainsaw unit. Inspect the air inlet holes to make sure o rings havent fallen out. If o rings are not there the unit cannot be used until they are replaced. Inspect the oil tanks to make sure both are full. If they are not: clean the nipple with a shop towel and top up the oil using the Haftol 100 pump.
-
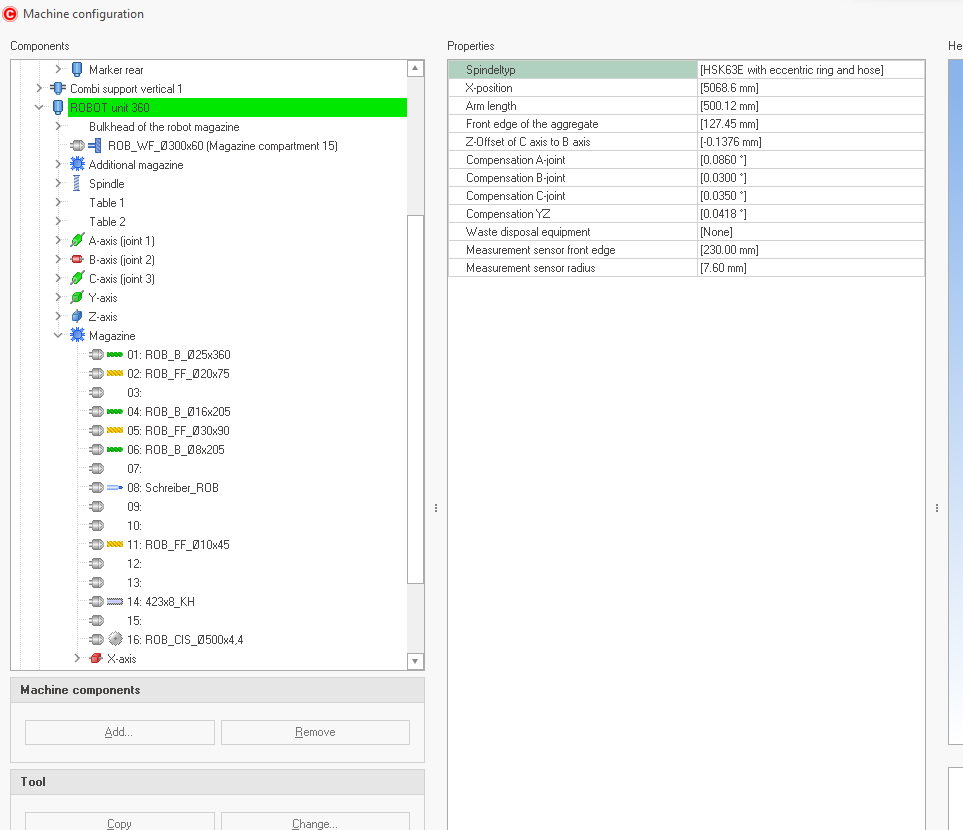
Remove tool from robot. Place in corresponding holder location according to the machine configuration page (ctrl+d) under ROBOT unit 360, Magazine.
-
With the HSK clamp locked in OPEN , clean the inside with t5he blue dust wiper tool. clean any dust remaining with a clean paint brush and shop towel. *DO NOT BLOW COMPRESSED AIR INSIDE THE HSK*
-
Lubricate the HSK on the robot spindle with Kluber ALTEMP Q NB 50 Spray according to page 227 in the K2 Operating Instructions Book. *only use a very small amount* Open and close the clamping valve a few times to distribute the lubricant.
-
Be sure not to blow down the machine or make any dust until after ther robot has a tool on it. It will pick up the 300x60 mill for the morning test piece.
-
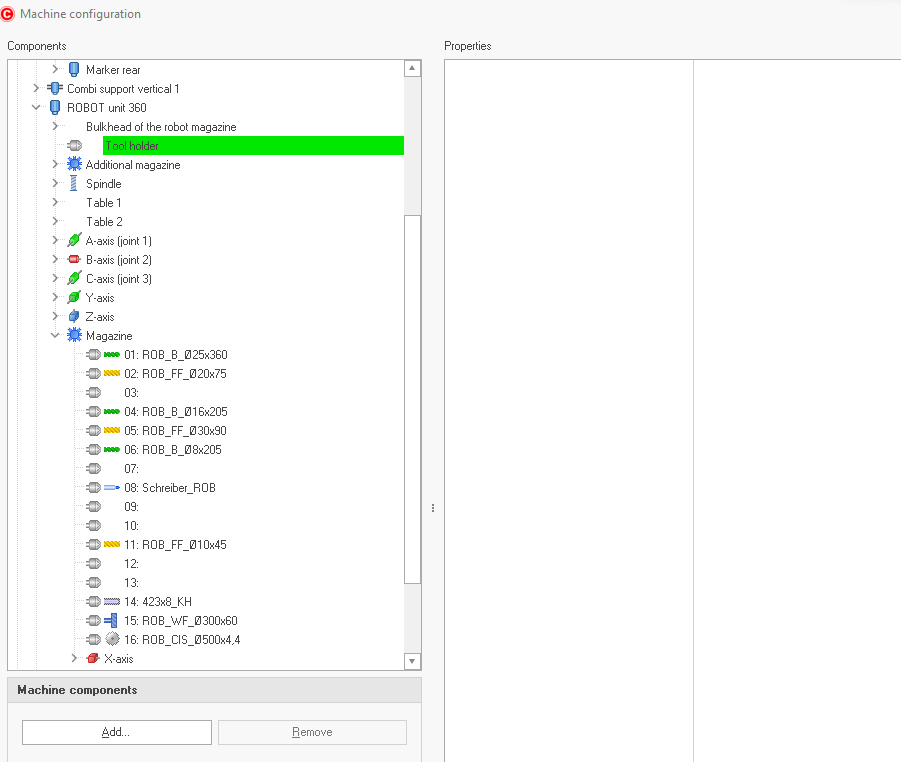
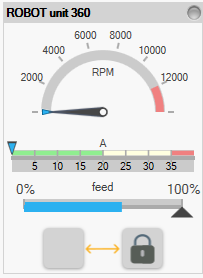
In the Machine Configuration page (ctrl+d) Make sure the robot unit has no tool installed. It will say "Tool Holder" and the Guage icon will show clamped with no tool.
-
The Robot guage Icon will say clamped with no tool:
Completion
-
Full Name and Signature of Employee *Signing once means you will follow this every time.*
-
undefined
-
Add signature


