


Title Page
-
Site conducted
-
-
LRP Quality Assurance Checklist
-
Conducted on
-
Prepared by
-
Location of LRP Modification
-
Sales Order Number
-
C Job Number
-
LRP Serial Number
-
Document No. (QA-*SOXXXXXX*-*Serial Number*)

Section 1 - Quality Assurance
Pre-Build Checklist – Product Functional and Performance
-
Add photos showing gear ratio and plate
-
Check inner tube guide plate/shipping plate been installed properly
-
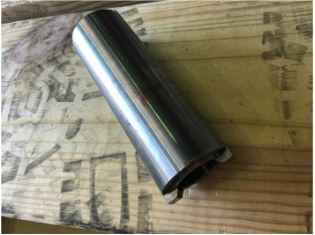
Check the inner tube is in centric tolerance to the outer tube (Support tube)– add measurements
-
Add Photo Here
-
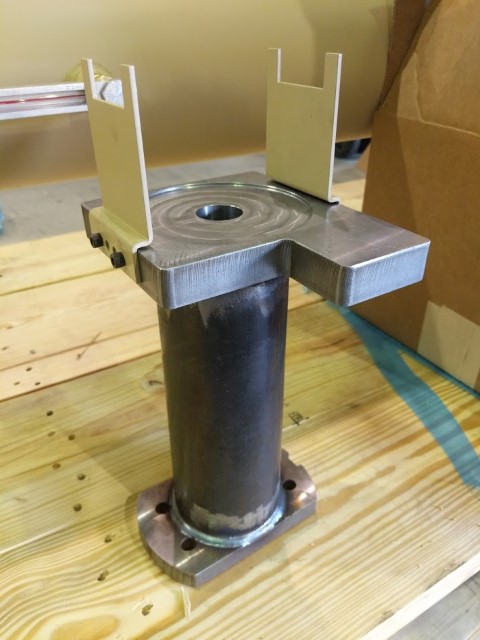
Visual inspection of the welding around the base
-
Add Photo Here
Built phase defect – Assembly Escape Detection
-
Visually inspect the orientation of gearbox adapter plate (pinion wall attach to gearbox) is oriented correctly (i.e. Parrallel with the table top)
-
Add Photo Here
-
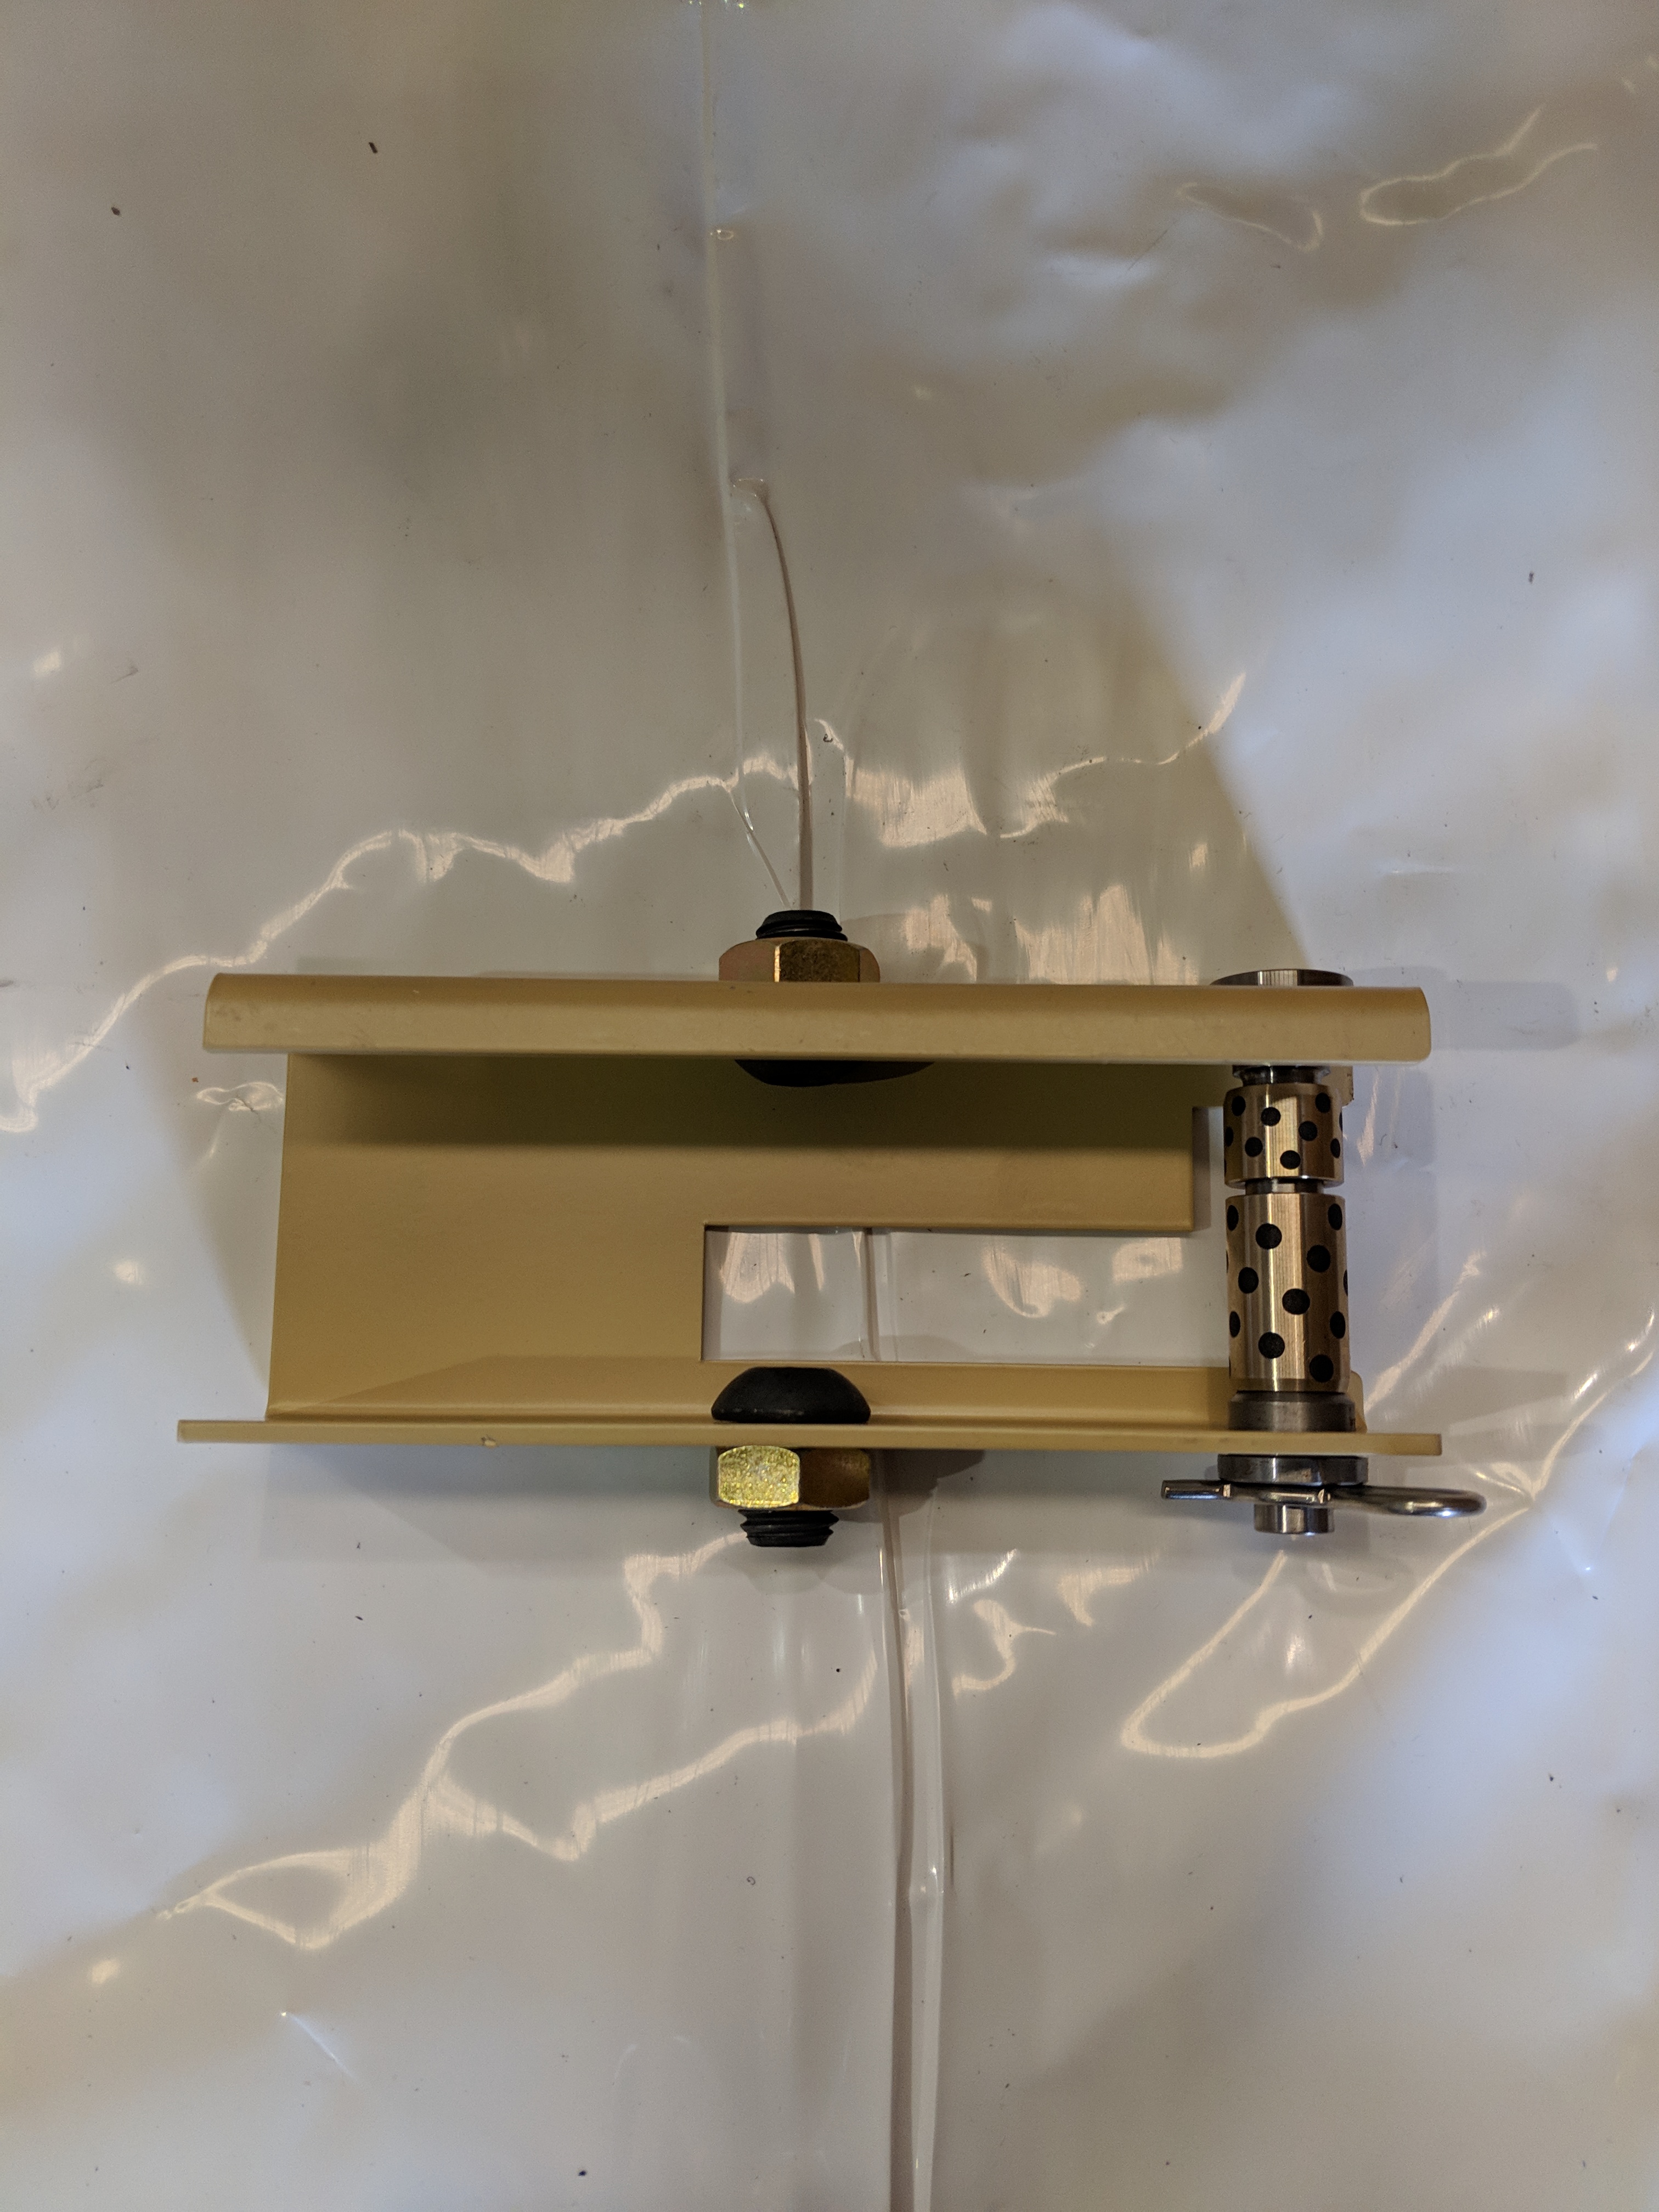
Bear for putting pinion bearing cap on make sure that the locking tab has been engaged with the lock nut.
-
Add Photo Here
-
Once support tube is attach to pinion housing check for the square. ( Allowable misalignment 5mm)
-
Add Photo Here
-
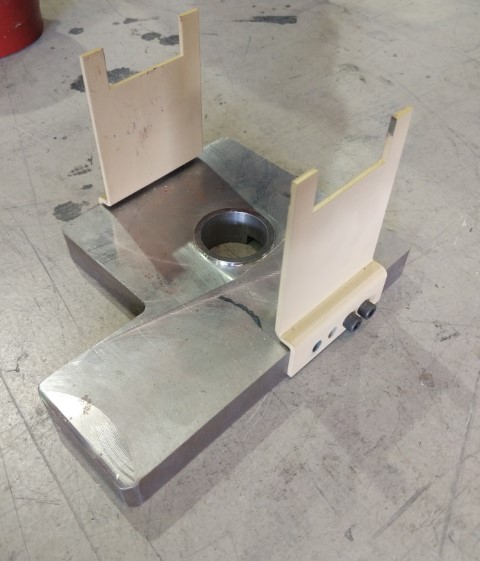
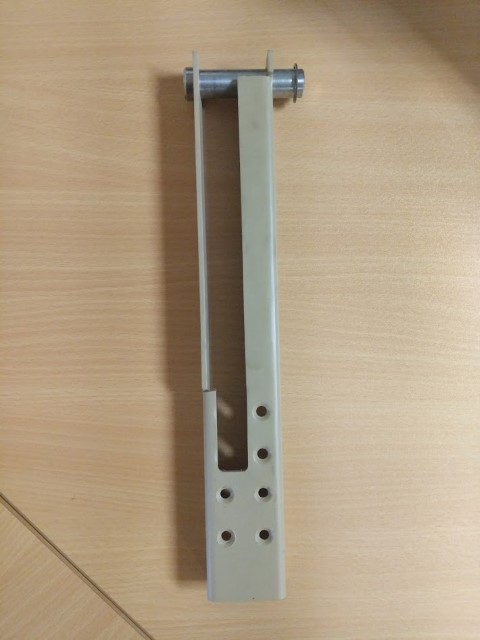
Check that brass guides been installed properly
-
Add Photo Here
-
What LRP is this QA Check for?
LRP Parts Box Inspection
-
Ensure all following components are included
-
Rod Rotator
-
-
Rod Rotator Spacer
-
-
Roller Support
-
-
Rod Rotator Plate
-
-
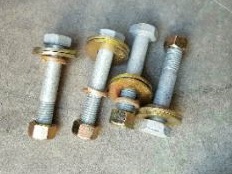
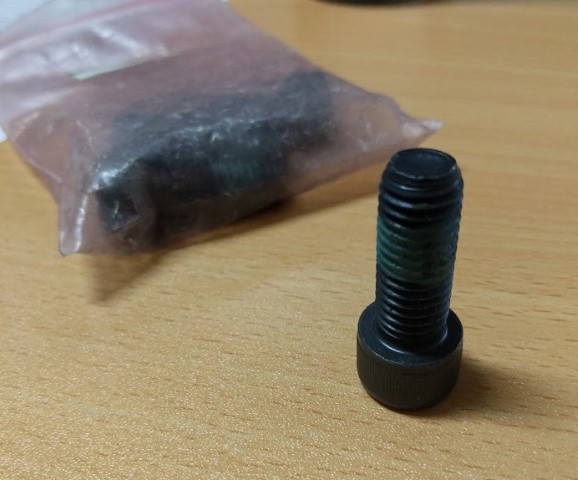
LRP Mounting Bolts (16x100mm Bolts/Washers/Spring Washer)
-
-
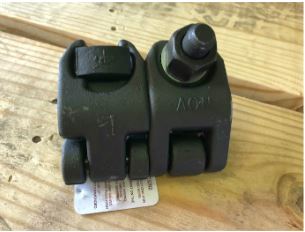
Polish Rod Clamp
-
-
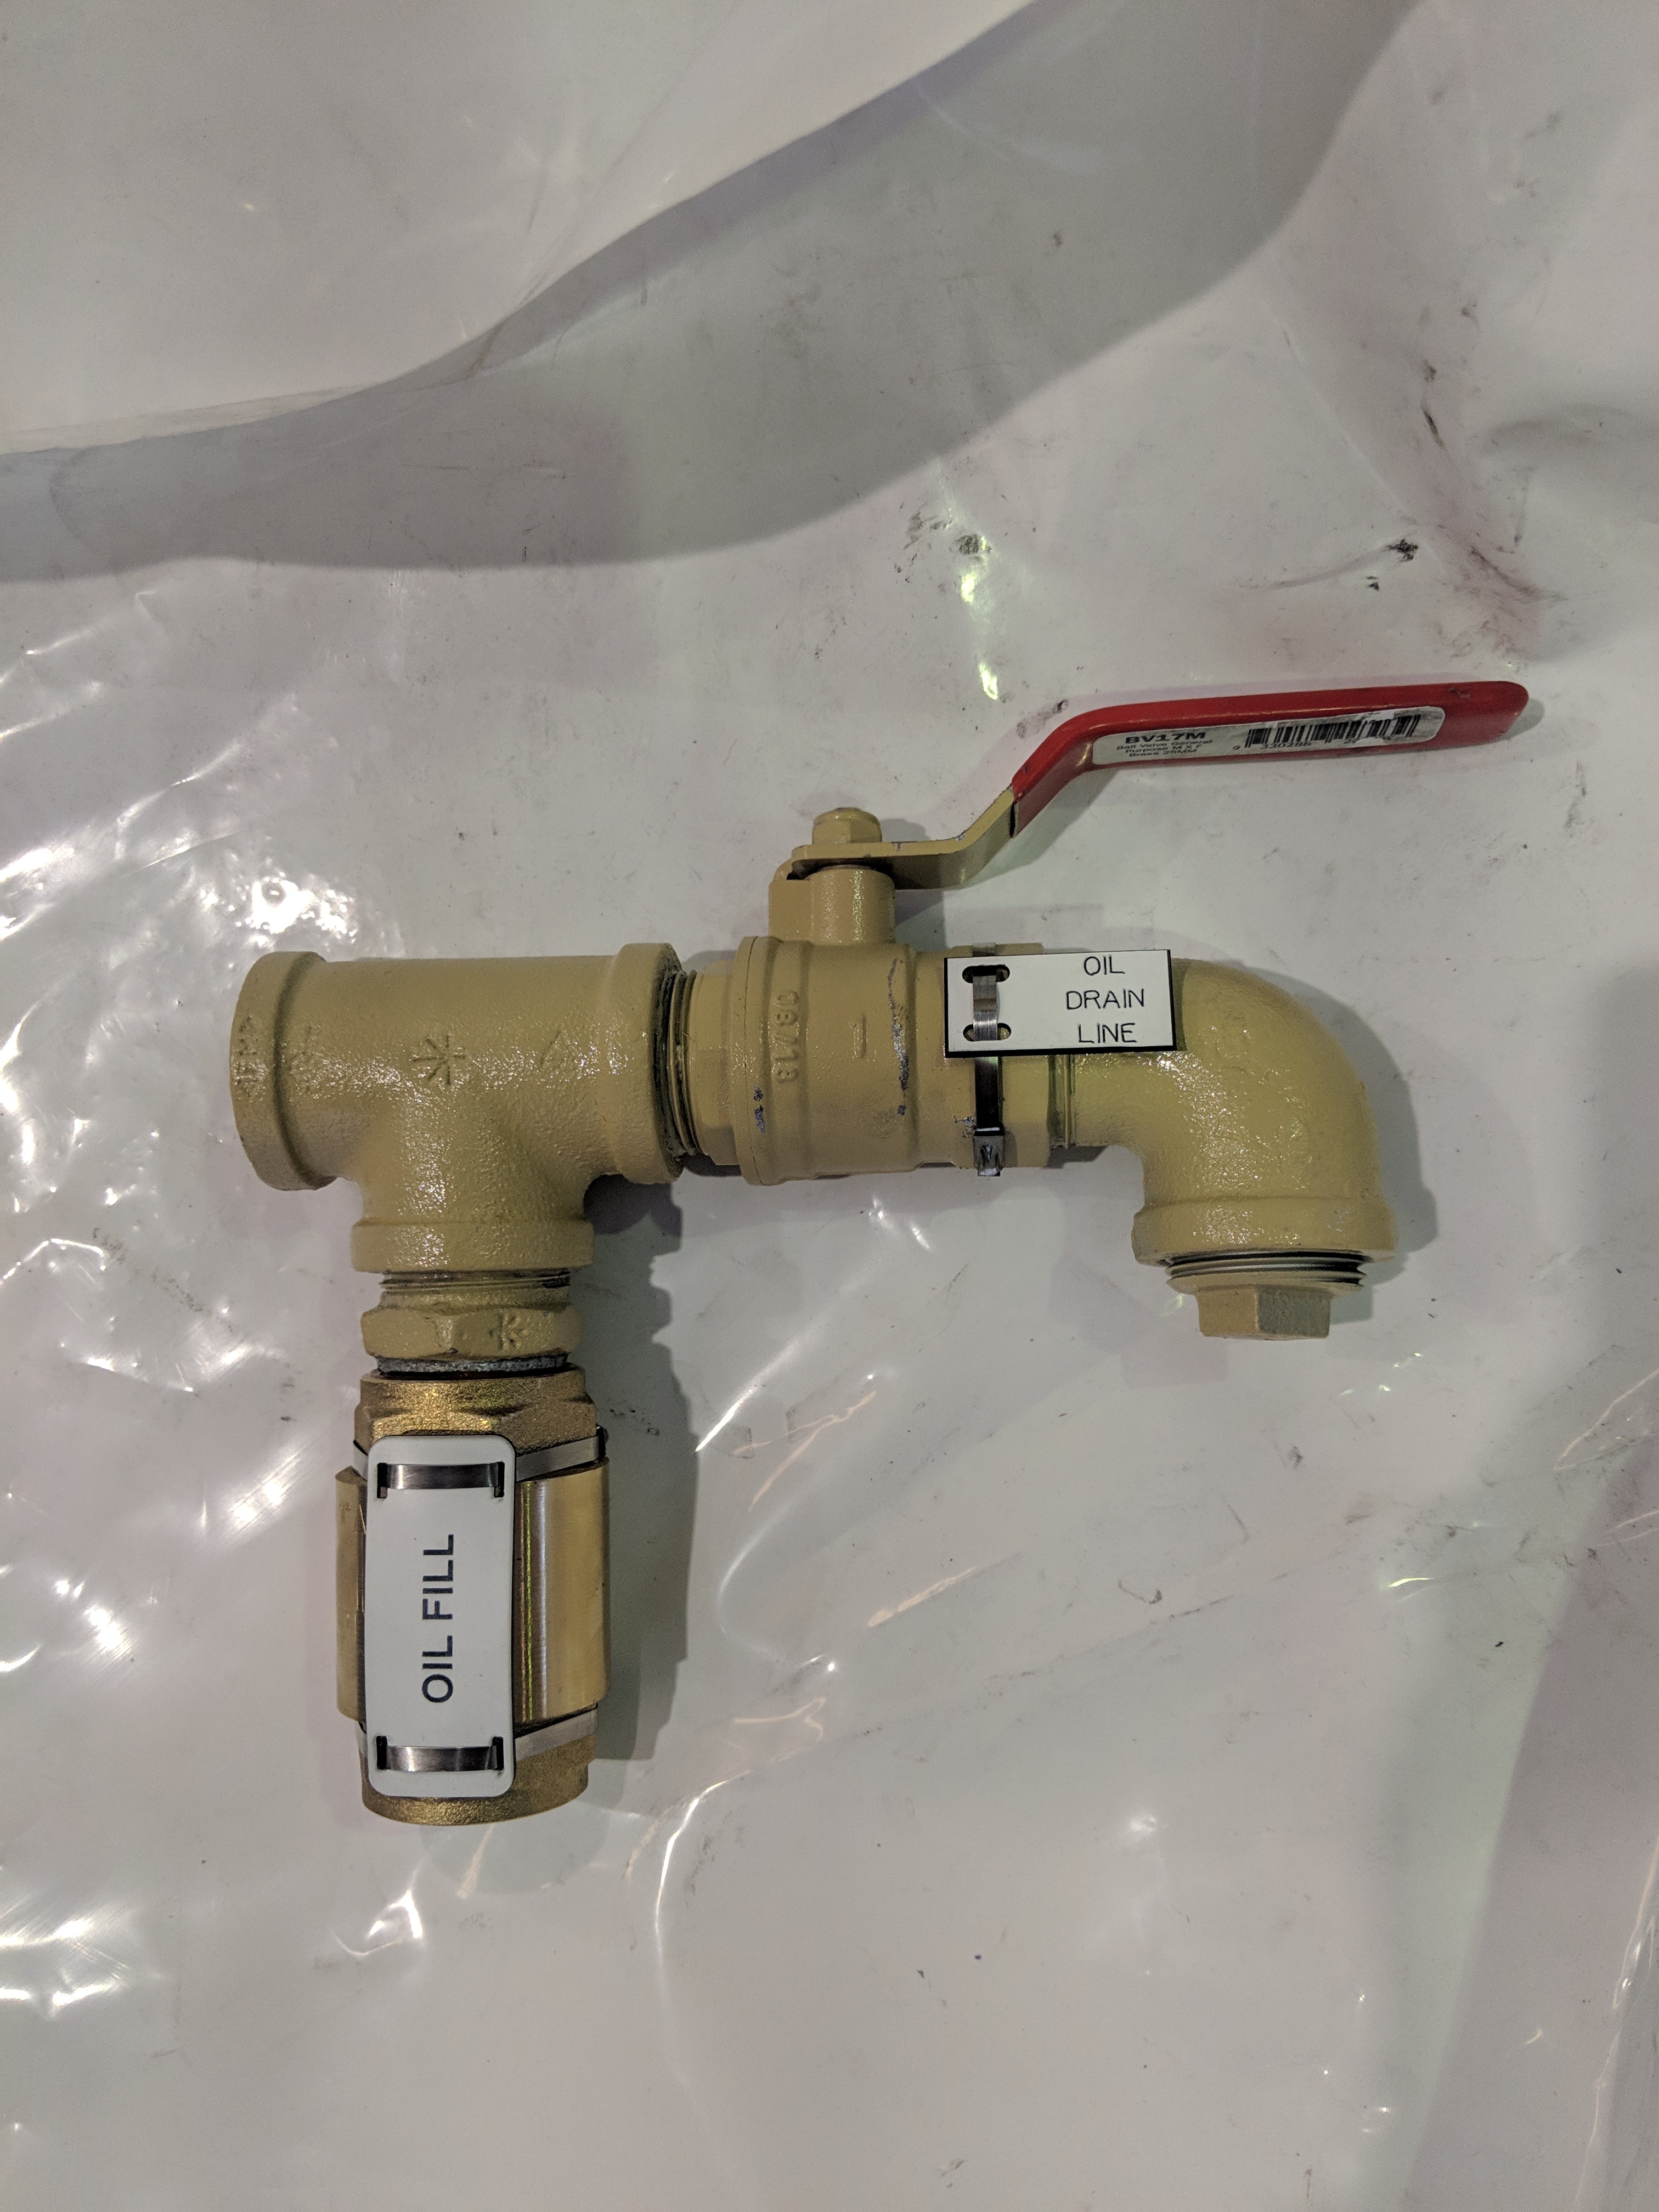
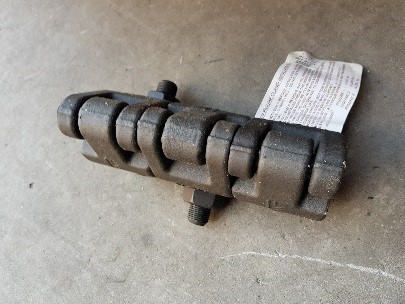
Oil Fill and Drain Assembly
-
-
LRP GA Drawings, BoM and Loose Components Checklist are included inside parts box


LRP Parts Box Inspection
-
Ensure all following components are included
-
Rod Rotator
-
-
Roller Support
-
-
Roller Support Mounting Bolts
-
-
LRP Mounting Bolts x 4 Refer Instructions for Size Selection (Bolts/Washers/Spring Washer )
-
M16 x 100mm = 30" casing stand assy (Santos) or M16 x 90mm = 36" casing stand assy (Origin)
-
Polish Rod Clamp
-
-
Oil Fill and Drain Assembly (inc. bung)
-
-
LRP GA Drawings, BoM and Loose Components Checklist are included inside parts box


LRP Parts Box Inspection
-
Ensure all following components are included
-
Rod Rotator
-
-
Rod Rotator Spacer Assembly
-
-
Roller Support Extension Bar
-
-
Load Block Mounting Bolts
-
-
LRP Mounting Bolts (16x100mm Bolts/Washers/Spring Washer)
-
-
Polish Rod Clamp
-
-
Oil Fill and Drain Assembly (inc. bung)
-
-
LRP GA Drawings, BoM and Loose Components Checklist are included inside parts box
-
-


undefined
Ensure all labels are CORRECT and SECURE
-
Label - "Well ID" is in place if Applicable
-
LRP Specification Sticker matches Motor RPM and Current
Lifting Point Tags with CORRECT Weights
-
Label - "LRP Lift Point" with weight is in place
-
Label - "Rack Cover Lift Point" with weight is in place
-
Label/s - "Motor Lift Point" is in place
-
Label/s - "Gearbox Lift Point" is in place
Oil and Grease Lines
-
Label/s - "Gearbox Grease Line" is in place
-
Label/s - "Motor Drive End Grease Line" is in place (CMG Motors Only)
-
Label/s - "Motor Non Drive End Grease Line" is in place (CMG Motors Only)
-
Label - "Oil Fill" is in place
-
Label - "Oil Drain" is in place
Cable Labels
-
Label - "Prox Sensor" is in place at TOP of LRP
-
Label - "Prox Sensor" is in place at BOTTOM of LRP
Inspection
Rack Cover
-
Is rack cover mounting flange square/perpendicular to rack cover
-
Rack cover fits onto the pinion box without hindrance
-
All bolt holes in the rack cover and pinion box line up correctly
-
Grease lines have been primed/pumped with correct grease
-
Gearbox Oil Sight Glass is clear of obstructions and won't be damaged in transport
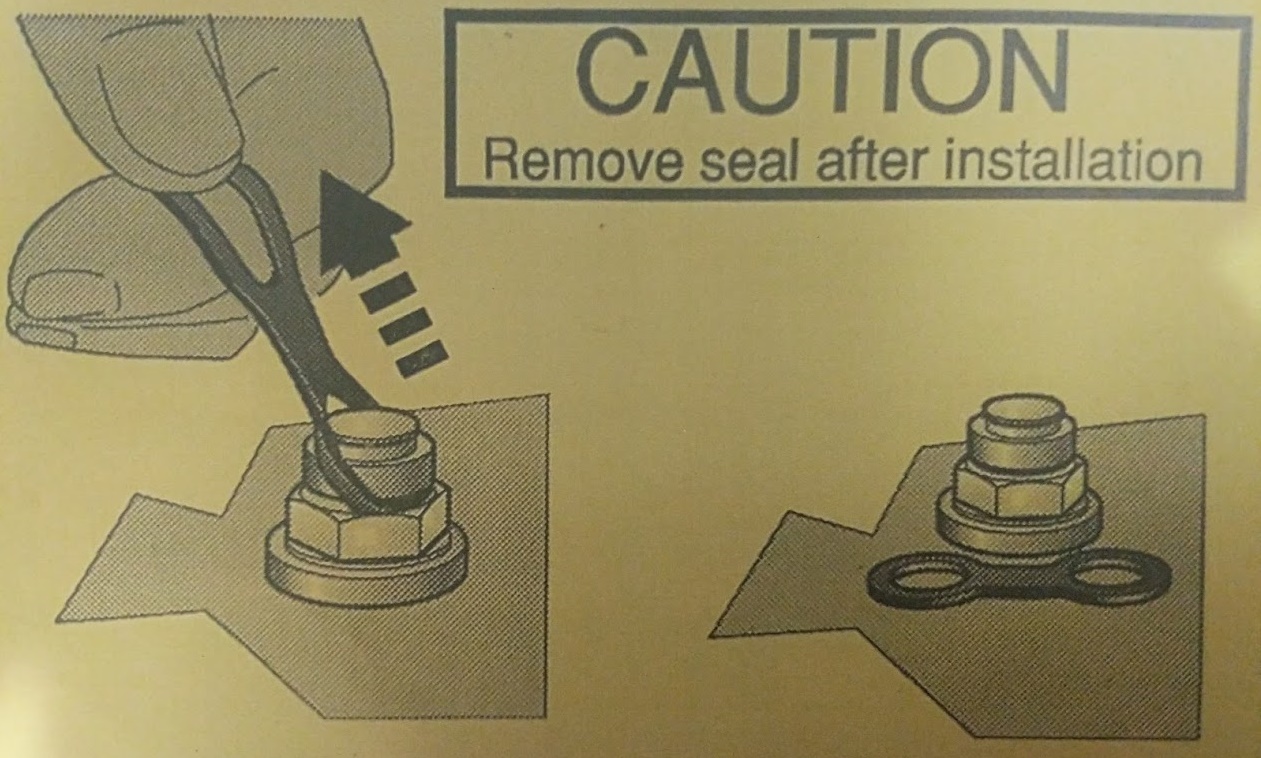
-
Gearbox breather seal has been removed
-
Oil Fill/Drain Line extension piece and support are fitted securely
-
-
ALL SCRATCHES AND MARKS ARE REMOVED
-
Clean LRP thoroughly and touch up paint where needed
-
Are motor and thermistor terminal box cover screws correctly tightened?
-
Ensure all parts, plastic wrap and crate are clean and clear of shavings, dirt and debris before heat wrapping!
-
Photo of completed LRP Unit (from base of LRP)
Heat Wrapping and Packaging
-
Heat Wrap is tight, neat and free from holes and damage
-
Motor/s are propped and secured by blocks (blocks to be screwed to base)
-
LRP is securely strapped to the pallet with steel straps
-
Crate is clean and free from tools, debris and filings
QA Section 1 Acceptance and Sign-Off
-
LRP meets all quality assurance checks?
-
QA Inspection Sign Off
Section 2 - Crating and Strapping
Crating and Strapping
-
All sides of crate are securely attached with the correct screws and poisitioning
-
Crate has 2 vertical steel straps and 1 horizontal steel strap tightly secured around it
Marking
-
Centre of Gravity Centroid is correctly marked on crate
-
Forklift Lifting Points are correctly marked on crate
-
Item Number has been painted onto both ends of the crate
-
Purchase Order Number has been painted onto both end of the crate
-
No of packages associated with manifest (eg. 1/5) has been painted onto both ends of the crate
-
All shipping documents have been attached to the crate
-
Photo of LRP Fully Crated, Labelled and Painted
QA Section 2 Acceptance and Sign Off
-
LRP Crating, Painting and Labeling is acceptable?
-
Post-Crating Inspection Sign Off