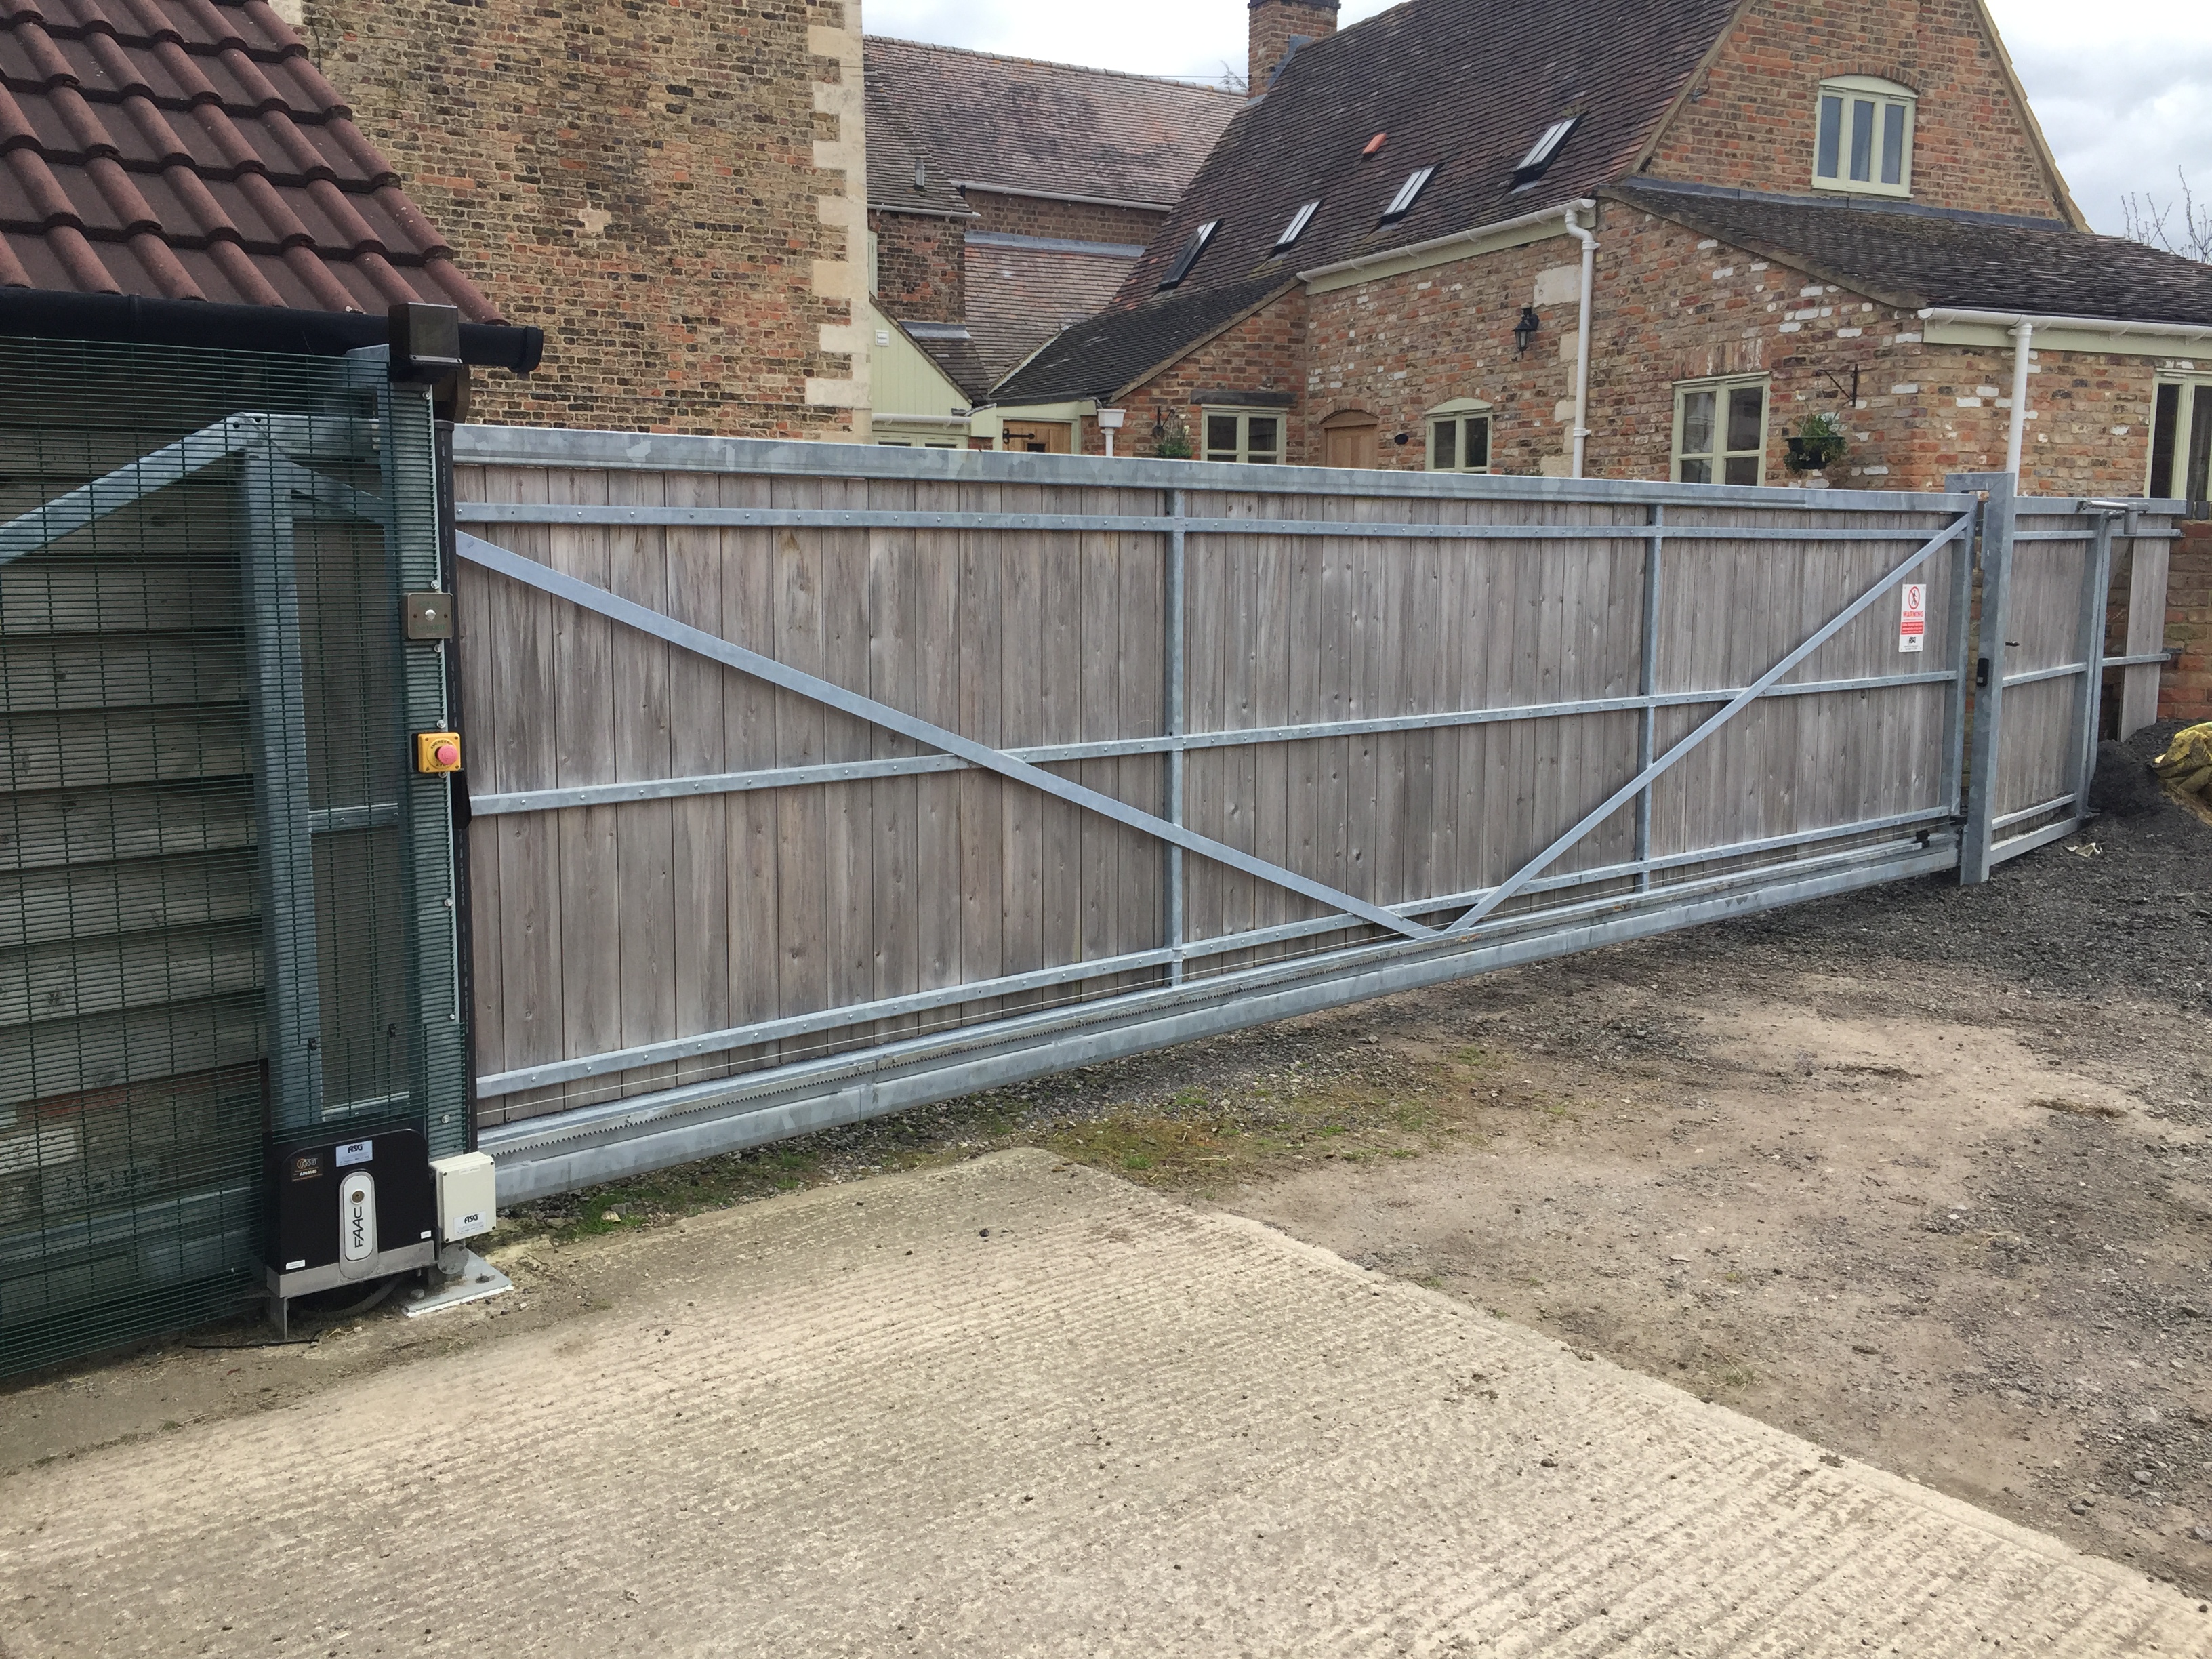
Title Page
-
Site & Address
-
Barrier Location
-
Asset Number
-
Engineer
-
Conducted on
Barrier Information
0.0 Asset Information
-
0.1 Make
- FAAC
- C.A.M.E
- BFT
- Magnetic
- Avon
- Parking Facilities
- Newgate
- APT
- NICE
- Other
- Wyatt D3250
- Beninca
-
List Make if "other"
-
0.2 Model
- B680 Hydraulic
- Gard 4 - Grey
- Gard 4 - Orange
- Gard 8
- 640
- 615 BPR
- 620
- Magnetic Parking
- EB450
- EB750
- PF6000
- Other
- D3250 Ultimation
-
List Model if "other"
-
0.3 Direction of Traffic
-
0.4 Barrier Serial No.
-
0.5 Circuit Control Panel details
-
0.6 Motor Drive details
-
0.7 Boom Length (in M)
-
0.8 Boom Set-up
-
0.9 Barrier Type
-
0.10 Type of Location
- School
- Residential Home (no public access)
- Commercial Premises
- Residential/ Flats (public access)
-
0.11 Type of users
- Untrained, Public
- Instructed User
-
0.12 Barrier Images
-
0.13 Date of Barrier Installation
PMI Checks
PMI Checks
-
Barrier PMI Service
1.0 Barrier Condition
-
1.1 Check structure of Barrier, ensure all fixings are tightened and secure.
-
1.2 Check Ground Bolts and Base Plate tightness, Torque as Required.
-
1.3 Engage and disengage manual operation, ensuing the Barrier Arm rotates fully up and down.
-
1.4 Check and adjust balance of Boom, ensuring correct counterweights Installed as required
-
1.5 Check and Adjust position of Boom Arm end stops, ensuring Boom stops level
-
1.6 Check and top up any fluid & Oil levels
-
1.7 Check and Tighten Boom Arm Securing Bolts, Torque as Required.
-
1.8 Check Barrier for correct operation and Function, testing all access control systems.
-
1.9 Check supply Voltage from mains is correct, including any standby powers installed.
-
1.10 Check & Test Mains Spur functions correctly and labelled.
-
1.11 Check & Test RCD Supply
-
1.12 Check all flexible connections, All connections into Control Panel.
-
1.13 Check for any water ingress into Barrier or Equipment, also checking signs of corrosion.
-
1.14 Lubricate all moving parts, and check operation for excess noise or wear.
-
1.15 Clean Barrier Boom Arm, Casing, Photocell Covers and any other accessories fitted.
-
1.16 Hold Open/ Pause Time (Seconds)
- 1-5 Seconds
- 5-10 Seconds
- 10-20 Seconds
- 20-30 Seconds
- 30sec - 1minute
- 1 - 2 minutes
- 2+ minutes
- Unable to Test
-
1.17 Opening Time
- 1-5 Seconds
- 5-10 Seconds
- 10-20 Seconds
- 20-30 Seconds
- 30sec - 1minute
- 1 - 2 minutes
- 2+ minutes
- Unable to Test
-
1.18 Closing Time
- 1-5 Seconds
- 5-10 Seconds
- 10-20 Seconds
- 20-30 Seconds
- 30sec - 1minute
- 1 - 2 minutes
- 2+ minutes
- Unable to Test
2.0 Safety Equipment
-
2.1 Check correct function of Photocells or Laser Scanner
-
2.2 Check & test Emergency Stop Button
-
2.3 Check and test emergency override for correct operation
-
2.4 Check all safety Signage present, and clearly visible.
-
2.5 Check & Test Fire Alarm activation
-
2.6 Check & Test Visual Warning Lamp
-
2.7 Check & Test Audible Warnings
-
2.8 List Signage Installed
- Stop
- Keep Clear
- No Entry
- Do not walk under barrier
- Other
- No Signage Installed
- Customer Bespoke Sign
3.0 Ground Loops
-
3.1 Check condition, Operation & Connections of Free Exit Loop
-
3.2 Check condition, Operation & Connections of Safety Loop
-
3.3 Check condition, Operation & Connections of Entrance Loop
4.0 Safety Edges
-
4.1 Check condition, Operation & Connections of Safety Edge(s)
5.0 Entrance & Exit Accessories
-
5.1 Check for correct operation of all Access Control, Raise & Lower Buttons & Customer Control Functions
-
5.2 Check & Test Keypad
-
5.3 Check & Test Fobs & Ariel System
6.0 Supports
-
6.1 Check & Lubricate Skirt
-
List Skirt Defects
-
6.2 Check & Lubricate Pogo Stick
-
List Pogo Stick Defects
-
6.3 Check & Adjust Catch Post
7.0 Documentation
-
7.1 Check End User has Barrier cabinet keys and Manual over ride key.
-
Information
-
7.2 Ensure user is familiar with Barrier operation and Emergency procedures.
-
7.3 Maintenance Log Book
- Present & Updated
- Not on site
- Not Required
-
7.5 Where are the Maintenance Log books kept
-
7.4 Service Last completed date
-
7.5 Where are the barrier keys located
8.0 Pictures
-
Barrier Arm, Cabinet & Control Panel
Risk Assessment
-
Risk Assessment Completed to EN13241-1 - GateSafe
9.0 BS EN 12978 Barrier Safety
-
9.1 Photocells or Laser Scanner
- Installed
- Not-Installed (Required)
- Not Required/ Installed
-
9.2 When the Photocell or Laser is activated, does the Barrier reverse cycle?
- Fully Reverses
- No change in movement
-
9.3 Force Limitation
- Installed
- Not-Installed (Required)
- Not Required/ Installed
-
9.4 Safety Signage on Boom Arm Clear & Visible
- Clear & Visible
- Faded
- Not Installed
-
9.5 Ground Presence Loop
- Installed
- Not-Installed (Required)
- Not Required/ Installed
-
9.6 Light Curtain
- Installed
- Not-Installed (Required)
- Not Required/ Installed
-
9.7 Buzzer Sound/ Audible Warning
- Installed
- Not-Installed (Required)
- Not Required/ Installed
-
9.8 Emergency Stop Button
- Installed
- Not-Installed (Required)
- Not Required/ Installed
-
9.9 Flashing Warning Light
- Installed
- Not-Installed (Required)
- Not Required/ Installed
-
9.10 List out other items:
-
9.11 Boom Strobe Warning light
- Installed
- Not-Installed (Required)
- Not Required/ Installed
-
9.12 Mains Voltage Warning Sticker
- Installed
- Not-Installed (Required)
- Not Required/ Installed
-
9.13 Mains isolation Location
-
9.14 CE Marking
- Installed
- Not-Installed (Required)
- Not Required/ Installed
-
9.15 All fixings and structure of the Barrier are secure and in good condition.
-
9.16 All Electrical connections are secure and connected
10.0 Counterweights or overhang Installed BS EN 12604 & BS EN 12605
-
10.1 Counterweights or overhang
-
10.2 List types of dangers
- Hooking
- Catching
- Shearing
- Cutting
- Impact
- Crushing
- Drawing-In
- Trip Hazard
-
10.3 Are the areas protected
-
10.4 Does this area comply with current standards
-
10.5 Describe level of protection provided
-
10.6 Provide image of the area (including protection)
11.0 Pogo Stick, Catch Post or Skirt Installed BS EN 12604 & BS EN 12605
-
11.1 Pogo Stick, Catch Post or Skirt
- Skirt
- Catch Post
- Pogo Stick
- None Installed (No Risks)
-
11.2 List types of dangers
- Hooking
- Catching
- Shearing
- Cutting
- Impact
- Crushing
- Drawing-In
- Trip Hazard
-
11.3 Are the areas protected
-
11.4 Describe level of protection provided
-
11.5 Does this area comply with current standards
-
11.6 Provide image of the area (including protection)
-
11.7 List types of dangers
- Hooking
- Catching
- Shearing
- Cutting
- Impact
- Crushing
- Drawing-In
- Trip Hazard
-
11.8 Does this area comply with current standards
-
11.9 Describe level of protection provided
-
11.10 Are the areas protected
-
11.11 Provide image of the area (including protection)
-
11.12 List types of dangers
- Hooking
- Catching
- Shearing
- Cutting
- Impact
- Crushing
- Drawing-In
- Trip Hazard
-
11.13 Does this area comply with current standards
-
11.14 Describe level of protection provided
-
11.15 Are the areas protected
-
11.16 Provide image of the area (including protection)
12.0 Boom BS EN 12604 & BS EN 12605
-
12.1 Boom
-
12.2 List types of dangers
- Hooking
- Catching
- Shearing
- Cutting
- Impact
- Crushing
- Drawing-In
- Trip Hazard
-
12.3 Are the areas protected
-
12.4 Does it comply with current standards
-
12.5 Describe level of protection provided
-
12. 6 Provide image of area (including protection)
13.0 Barrier Casing, Door, Gearbox Output shaft, Boom holder plate. BS EN 12604 & BS EN 12605
-
13.1 List types of dangers
- Hooking
- Catching
- Shearing
- Cutting
- Impact
- Crushing
- Drawing-In
- Trip Hazard
-
13.2 Are the areas protected
-
13.3 Does it comply with current standards
-
13.4 Describe level of protection provided
-
13.5 Provide image of area (including protection)
14.0 BS EN12445 Force Testing
-
Has a Force Test been completed?
14.0 BS EN 12445 Force Testing
-
14.1 Test 1 at 2m (Nm)
-
14.2 Test 2 at 2m (Nm)
-
14.3 Test 3 at 2m (Nm)
-
14.4 Test 4 at 1m (NM)
-
14.5 Test 5 at 1m (NM)
-
14.6 Test 6 at 1m (NM)
-
14.7 Force Results
- Passed (under 400nm)
- Advisory (above 400Nm lower than 499nm)
- Exceeds 499nm
-
14.8 Notes:
15.0 Residual Hazards (List out any additional hazards at the barrier location which are not controlled by a protective safety device)
-
Residual Hazards
Additional Information
-
How many Vehicle Spaces are controlled?
-
Are there any other Risk Assessment Considerations?
PMI Summary
List Replacement Parts, Items or Safety upgrades required.
-
Requirements
-
Customer Advisories
PMI Summary
-
Based on completion of the Barrier PMI, We consider the Barrier to have:
-
Congratulations, your Automated Barrier has been found compliant. We consider the Barrier to be Fully Compliant with current legislation and safe to operate.
-
Your Automatic Barrier has been found non-compliant. We consider the Barrier system to be defective, not possible to operate due to defective parts or doesn't comply with one or more safety standard. We fully recommend the system is isolated and not used until any rectification has been carried out. A separate advice note, with any relevant costs and information will be sent separately. The responsible person on site has been advised on all relevant defects.
-
Your Automatic Barrier has been Condemned on critical mechanical, electrical failure, or does not comply with current safety standards, where the Barrier has been considered dangerous based on the a full Risk Assessment. The servicing Engineer has isolated the power and left the equipment in manual operation only. A safety notice will be issued detailing all failures & required remedial repairs. The responsible person on site takes fully responsibility to ensure the Barrier is kept isolated & safe until such time as the repairs are completed. A Full Risk Assessment will be issued on completion of any remedial repairs.
-
Responsible Person
Signatures
-
Engineer Signature
-
Customer Signature
Information
-
Maintaining for safety
Component parts can wear and fail, sometimes catastrophically. Like most machinery, powered doors and gates need to be maintained to remain safe. Powered gates forming parts of workplaces or in common parts of residential complexes will be subject to health and safety law. Owners, occupiers, landlords and managing agents will have on-going responsibilities for the safety of all users and all those who may encounter the gate.
There are a number of current standards which are relevant to powered gates, including:
BS EN 13241-1 the Product Standard for powered doors and gates (and most relevant to the CPR)
BS EN 12604 & BS EN 12605 on mechanical requirements and tests
BS EN 12453 & BS EN 12445 on requirements and test for powered gates
BS EN 12635 on installation and use
BS EN 12978 on safety devices for power operated doors and gates
BS EN 60335-2-103 on drives for household and similar gates
BS EN 60335-2-95 on drives for residential vertically moving garage doors


