Information
-
Area Lead Full Clean Final Check Title (i.e. Fluid Bed # 473/ Nifedipine ER/ 10/01/16)
-
Fluid Bed #:
-
Product Name:
-
Lot #:
-
NDC # (Last Four(4) Digits):
-
Clean Type:
-
Conducted on
-
Prepared by
Supervisor Assessment
Supervisor Assessment
-
Are all cleaning sheets up to date?
-
1. Check lights, ceiling, walls, floor, doors and windows for powder or residue.
-
Door jams and on the floor around sliding or swinging doors.
-
Floor under computer cabinet.
-
Special attention to floor under plenum and the back wall behind fluid bed.
-
Do any of the above items require further attention? If so document with comments and photos.
-
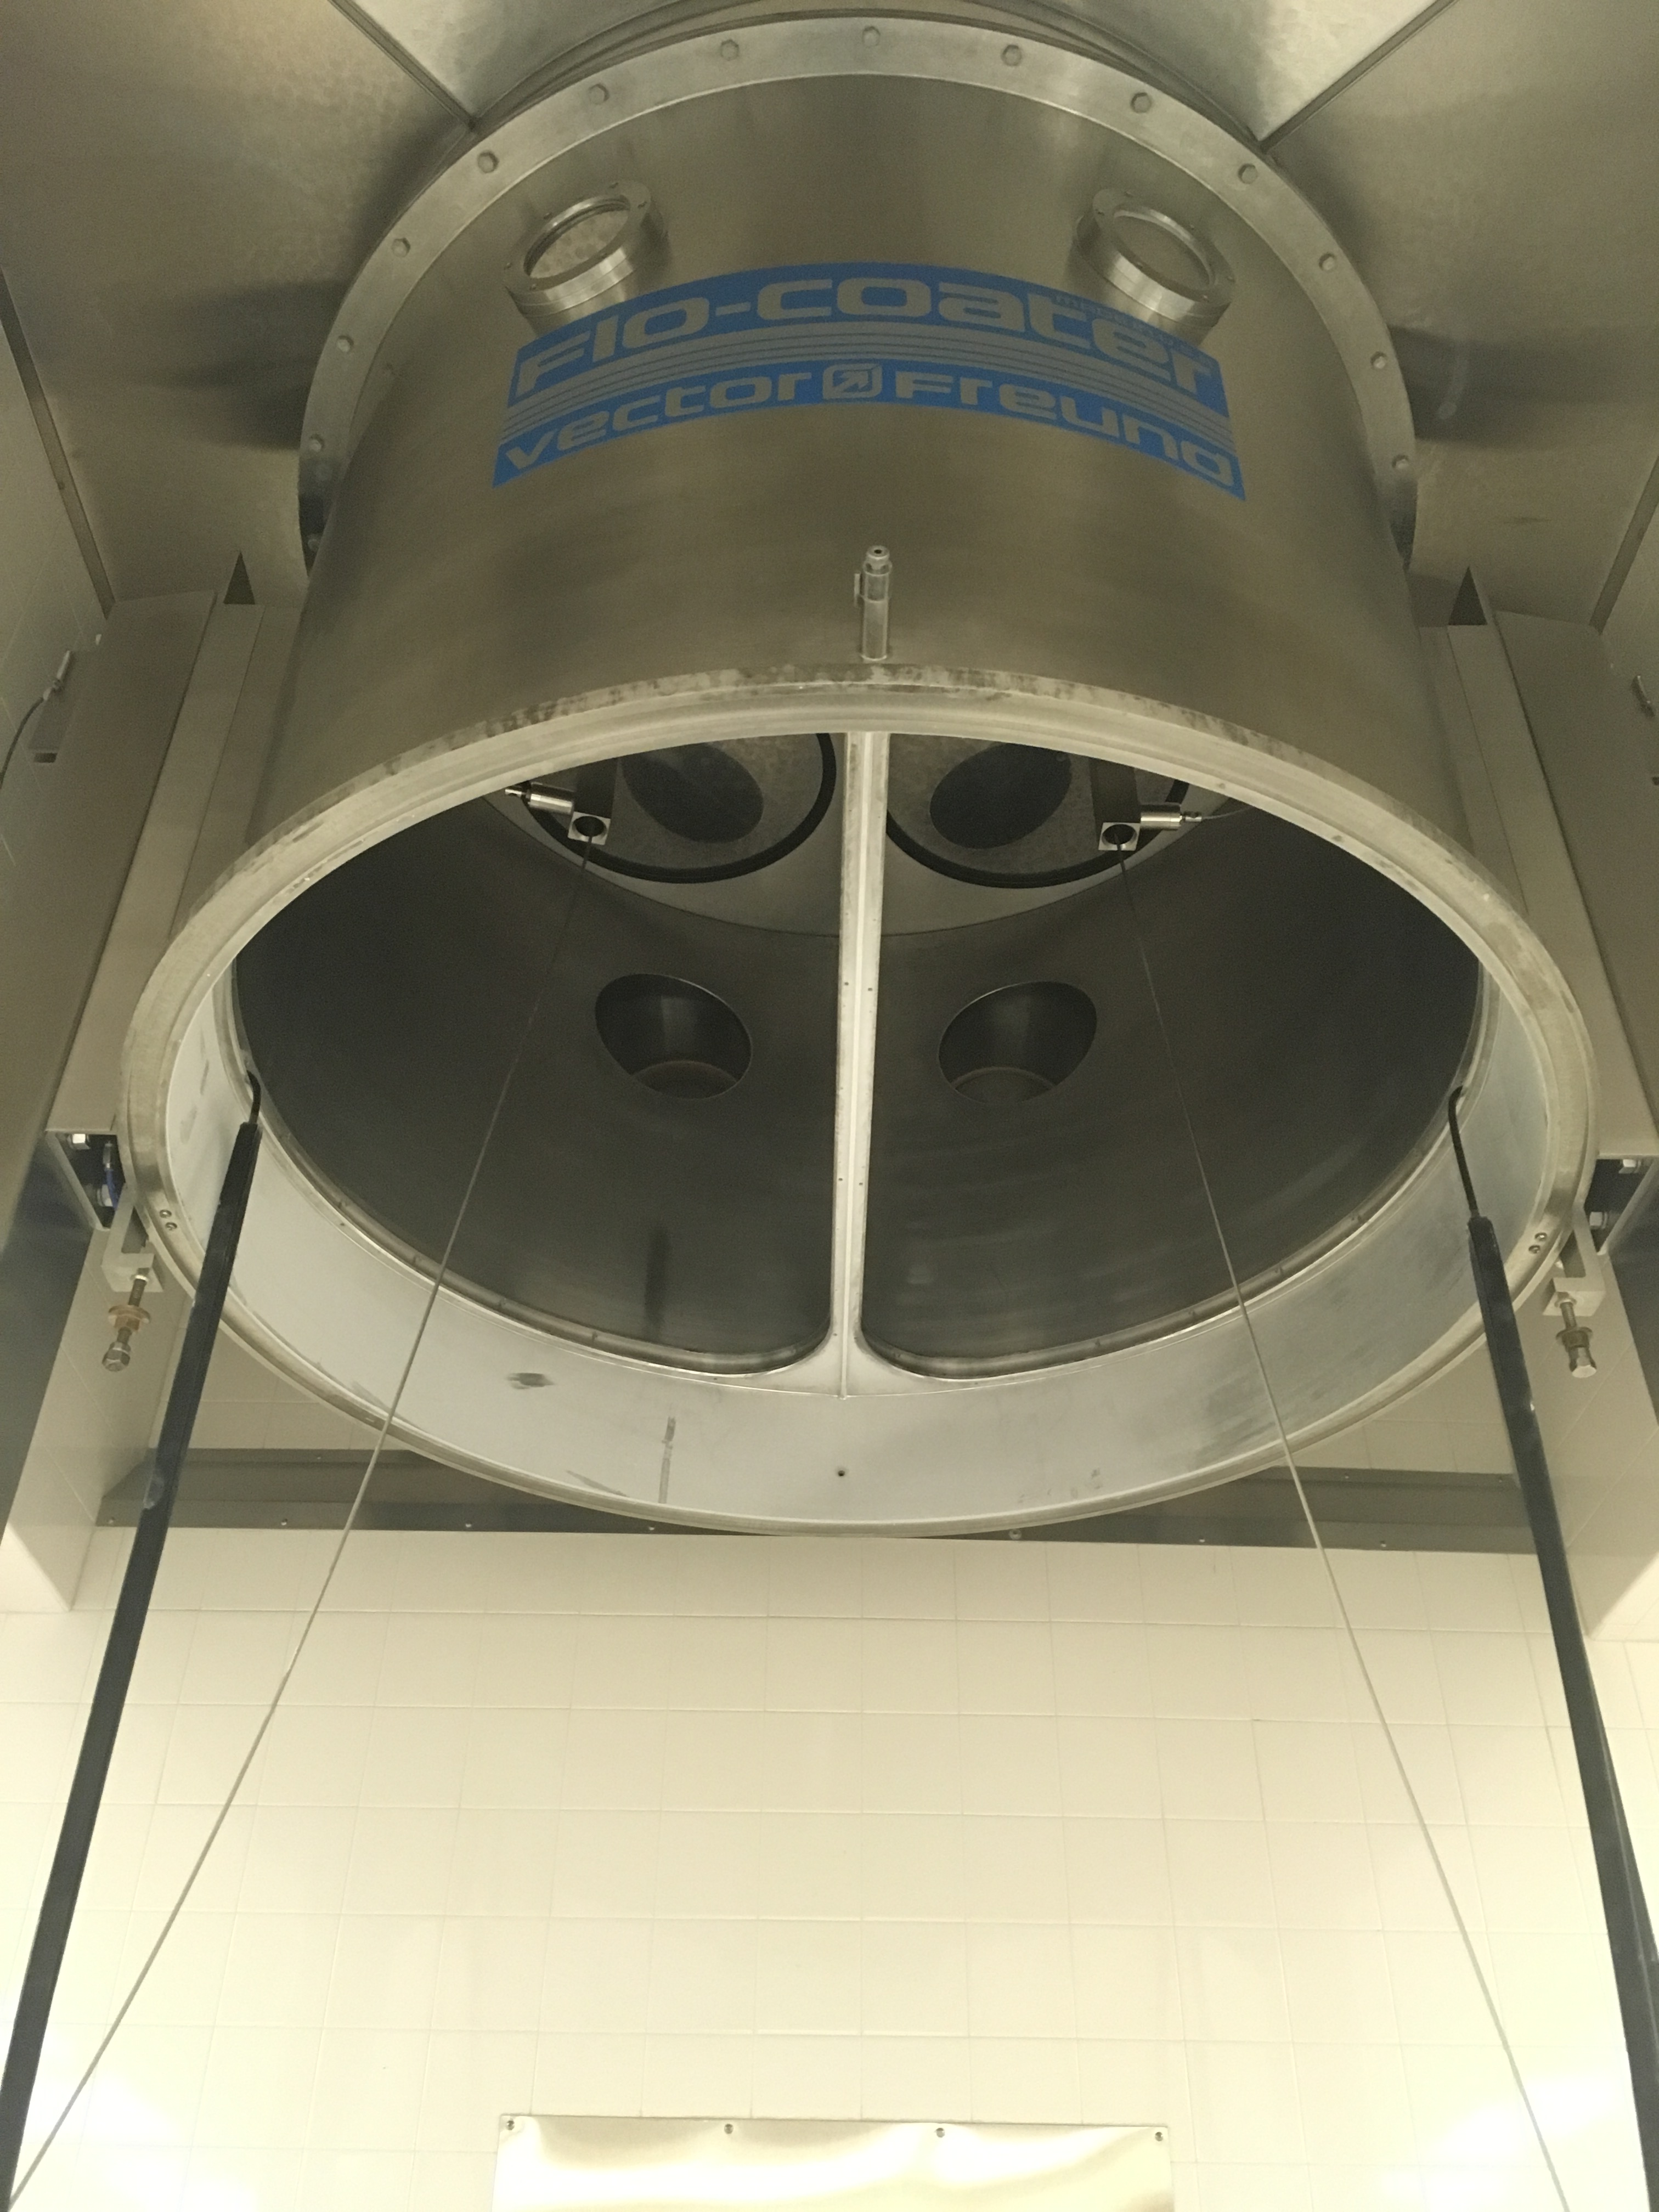
2. Check inside upper chamber of fluid bed.
-
Exhaust valves. Are they free of beads, pellets, or powder?
-
Bag shake pistons and attached cables
-
Bag seal track, ledges, and the bag seals themselves. Inspect the entire length of each bag seal.
-
Inspect cross bar for product build up.
-
-
Do any of the above items require further attention? If so document with comments and photos.
-
3. Upper Fluid Bed Exterior
-
Exterior lip/ledge at bottom of upper chamber
-
Upper chamber seal track
-
Do any of the above items require further attention? If so document with comments and photos.
-
4. Check Plenum and Inlet Area
-
Inspect interior bowl area of plenum, including drain hole, rotor coupler (threaded holes), and inlet air entry area.
-
Using a flash light inspect the inlet duct work as far as visually possible as well as the inlet air seal area.
-
Examine the exterior of the plenum bowl, particularly underneath the bowl and the support beams.
-
Step 4 -
-
Do any of the above items require further attention? If so document with comments and photos.
-
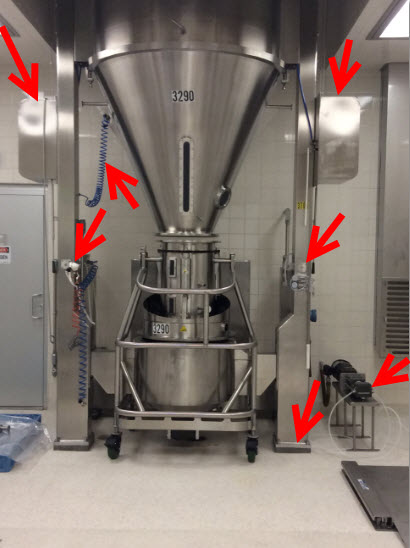
5. Check Bed Framing and Attachments
-
Vertical Support Beams
-
On top of winch housings.
-
Product temperature probe storage tube.
-
Pump area including the pump caps.
-
Nooks and crannies in the area of the air pressure gauges.
-
Hoses, tubing, and cords that are present on the fluid bed.
-
-
Do any of the above items require further attention? Is so document with comments and photos.
-
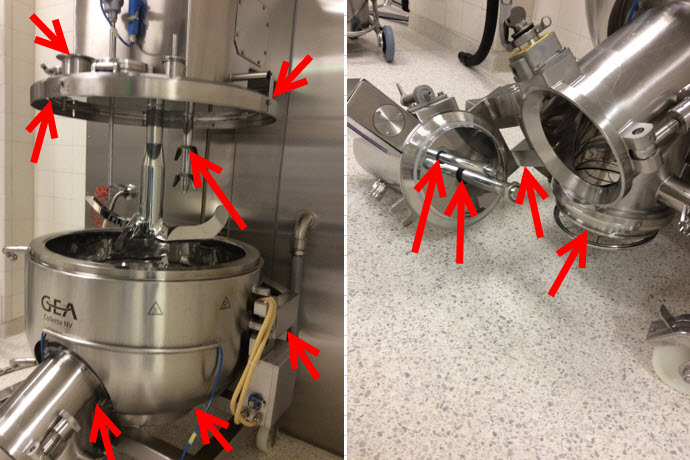
6. Check Gral Bowl and Associated Assemblies
-
Inspect the bowl interior including any drain holes.
-
Inspect the interior ceiling of the gral particularly where the impeller and chopper blades attach.
-
Inspect impeller and chopper bladdes
-
Using a ladder if necessary, inspect the very top of the gral house for product build up.
-
Inspect all ports for the sight glasses, gral socks, and probes that exist on the top of the gral.
-
Inspect the discharge valve assembly. Pay close attention to areas around shafts, areas underneath the valve area that are out of sight and around any ledges or protrusions.
-
Inspect underneath the gral bowl and it's supporting arms.
-
-
Do any of the above items require further attention? If so document with comments and photos.
-
7. Check for moisture in inner closet
-
8. Is room dry enough for AQL inspection?
-
9. Room is ready for Quality Check. IF FAIL, what rework is necessary?
-
Add media

Assessment Results
Quality Results
-
-
Did the Quality Check pass? If NO Response, Make notation of what rework was necessary.
-
Add signature