Title Page
-
Prepared by
-
Conducted on
-
Site conducted
-
Solarvista Job Number
-
Verisae WON
Maintenance Tasks
-
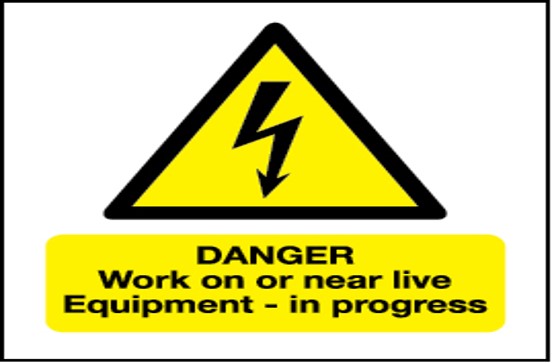
Erect signage of work area to warn of work in progress
Pack
Details
-
System Number
- HT1
- HT2
- HT3
- HT4
- HT5
- HT6
- HT7
- HT8
- HT9
- HT10
- LT1
- LT2
- LT3
- LT4
- LT5
- LT6
- LT7
- LT8
- LT9
- LT10
- DT1
- DT2
- DT3
- DT4
- DT5
- DT6
- DT7
- DT8
- DT9
- DT10
- HT/LT1
- HT/LT2
- HT/LT3
- HT/LT4
- HT/LT5
- HT/LT6
- HT/LT7
-
Make
-
Model
-
Serial Number
-
Date Of Manufacturer
-
Confirm PRV's Are In Date and Tagged
Safety Checks
-
Ensure the work area is clear from any obstruction
-
Check the general condition of asset
-
Perform test run to confirm asset is operational
Visual Inspections
-
Confirm asset tag is in place & not damaged
-
Manually test operation of plant ventilation override
-
Confirm correct warning labels are displayed on plant housing and control panels
-
Ensure panel keys are in place
-
Ensure all electrical drawings & manuals are on site, up to date & available to access
-
Confirm electrical components are not overheating or arcing
-
Ensure all pressure relief valves are connected to blow off lines
-
Confirm pack housing has no internal/ external damage
Electrical Tasks
-
Confirm isolator engineer interlock is functioning correctly
-
Confirm earthing and continuity to all metal work and sub circuit components
-
Ensure electrical panel and interior of pack casing is clean and free from debris.<br>Confirming trunking covers and electrical cables are tidy
-
Confirm UPS does not have any warning lights lit.
-
Using an infra red thermometer record the temperatures. Should not exceed 40 degrees
-
Confirm control voltage is 24vdc
-
Confirm PLC/Controller is operational & staging compressor in/out
-
Examine overloads and confirm they are set for 10 % above operational amps. Refer to<br>compressor/motor data plate
-
Confirm crankcase heaters are operational<br>
-
Confirm operation of housing extract fan, isolate and clean if required using a soft brush<br>(where Fitted)
-
Confirm Inverters are operational
Refrigeration Tasks
-
Confirm all compressor mounts and fixings are in place and secure
-
Confirm service valve connections are secure and leak free. corroding valves should be<br>cleaned and protected
-
Check operation of all compressors
-
Check for pressure drop across the Oil filters
-
Confirm oil management system is working correctly
-
Confirm oil level is adequate and visually inspect oil for any sign of burn out or acidity
-
Confirm liquid level is correct **at least 20% for G&C and Bottom Level Glass for Space & Teko**
-
Confirm transducers are reading correctly in correlation with gauges
-
Confirm all Temp probes are in the correct place and secure and reading correctly
-
Confirm liquid line filter (where present) and change where necessary, or remove if manufacturers spec is to remove.
-
Confirm main safety switch is fitted and operational with no signs of damage and<br>operation is at correct pressure **Label with set pressure and date tested**
-
Confirm pressure vessels are clear of corrosion or damage
-
Confirm there are no signs of damage to insulation to Pressure vessel and heat exchanger
-
Confirm components and pipework are clear of rubbing or damage
-
Carry out a pressure differential test and confirm no Suction filter is present
-
Confirm all components and pipework are clear of any signs of accumulation of ice
-
Confirm pipe work is free from any signs of damage, or leaks
-
Confirm pipe brackets and clips are tight and secure
-
Leak Test all components & pipework for any leaks. Confirm there are no leaks with an<br>electronic leak detector
Gas Cooler
-
The cleaning of the gas cooler may not be required for this section if the gas cooler has been cleaned by our gas cooler cleaning engineer.
-
Confirm that the rotation of gas cooler fans and the operation of the controllers is correct
-
Confirm all condenser fan fixings, blades and fan guards are in place and secure
-
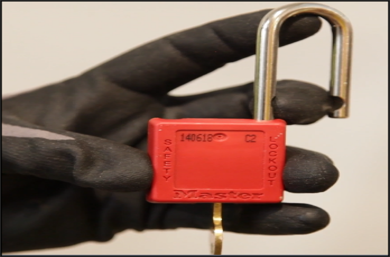
Lock out Tag out Gas cooler fan (only carry out clean of one fan at a time )
-
Brush off debris from underneath the gas cooler prior to jet washing.
-
Jet wash all fins until water runs clear
-
Confirm Gas Cooler is Clean with photos
-
Confirm Gas cooler fins are clear from any damage or corrosion. If fins are damaged<br>straighten using correct size fin comb
-
Remove any debris from underneath Gas cooler
Completion
-
Confirm all electrical panel doors are closed and pack housing has no internal damage
-
Confirm isolators are engaged with the interlocks<br>
-
Leave work area in a Clean & tidy condition
-
Close and lock Plant Doors ensuring they are secure
-
Remove any signage used. Return any Keys used to store
Condensing Unit
-
System Number
-
Make
-
Model
-
Year of manufacture
-
Refrigerant Type
-
Ensure All Electrics Are Operational and Condensing Unit is Controlling Correctly
-
Confirm Operation of Condenser Fan Motor
-
Clean Condenser With A Jet Wash Untill Condenser is Clear Through
-
Confirm condensing unit housing is free from damage and corrosion
-
Secure All Panels On Condensing Unit With Correct Fixings And Ensure Unit is Weather Proof.
-
Shop Floor
Shop Floor Cabinets
-
Leak test all shop floor cabinets and pipe components with an electronic leak detector
-
Confirm all system dividers are in place and undamaged
-
Clean all shop floor integral condensers
-
Record any fabric issues with shop floor cabinets
Monitoring Panel
-
Confirm on Alarm Panel all fixtures are running to Tesco Specification and are<br>communicating
-
Confirm Battery Status is not in alarm indicated at the top of the screen Replace if<br>required
-
Confirm with area desk engineer that there are no active alarms on IMS
Signature
-
I confirm that this PPM has been completed with any issues recorded.


