Title Page
-
Conducted on
-
Prepared by
-
FRANCHISEE
-
MARKET
-
Location
-
TECHNICAL FIELD TRAINER
-
FRANCHISE SUPPORT MGR
OIL CHANGE PROCESS
OIL CHANGE PROCESS
-
STEP 1
-
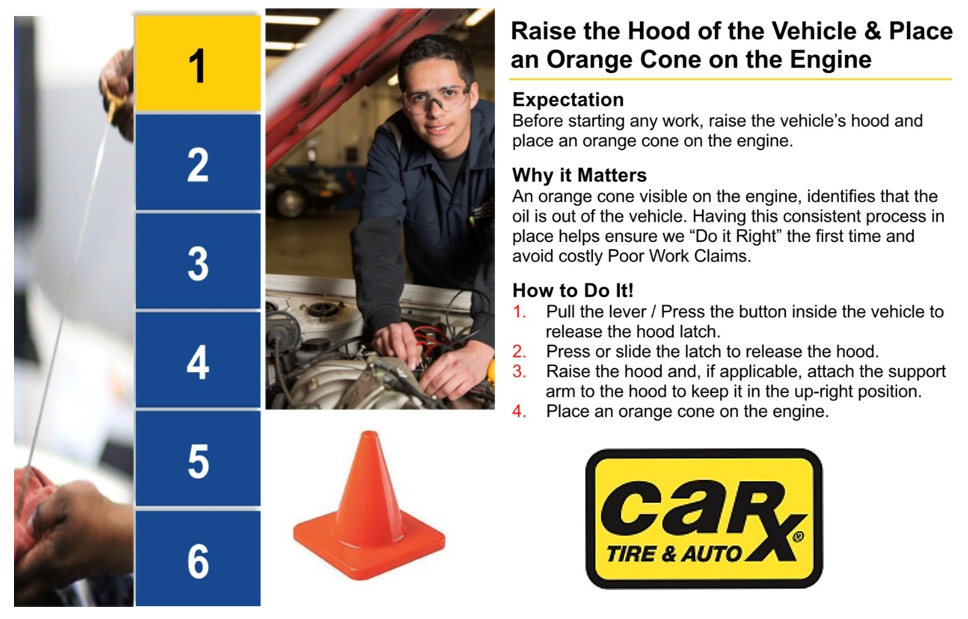
RAISE THE HOOD OF THE VEHICLE & PLACE AN ORANGE CONE ON THE ENGINE
-
WHY IT MATTERS? An orange cone visible on the engine, identifies that the oil is out of the vehicle. Having this consistent process in place helps ensure we "Do it Right" the first time and avoid costly poor work claims.
-
Pull the lever or press the button inside the vehicle to release the hood latch
-
Press or slide the latch to release the hood
-
Raise the hood and, if applicable, attach the support arm to the hood to keep it in the up-right position.
-
Place an orange cone on the engine
-
STEP 2
-
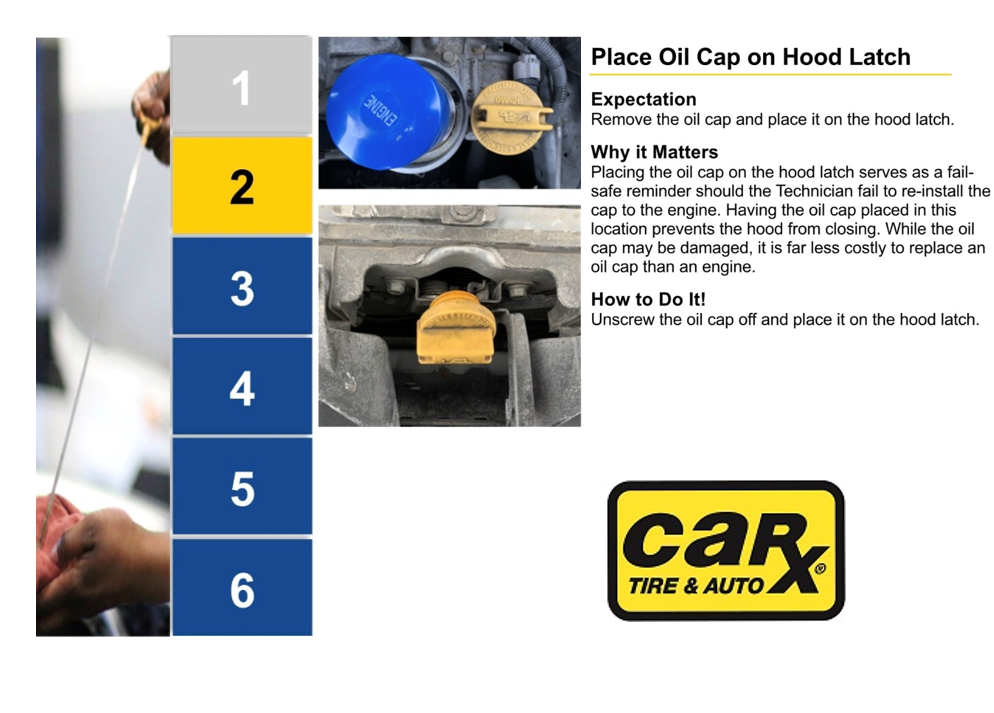
PLACE OIL CAP ON HOOD LATCH
-
WHY IT MATTERS? Placing the oil cap on the hood latch serves as a fail-safe reminder should the Technician fail to re-install the cap to the engine. Having the oil cap placed in this location prevents the hood from closing. While the oil cap may be damaged, its is far less costly to replace an oil cap than an engine.
-
Unscrew the oil cap off and place it on the hood latch
-
Expectations: Remove the oil cap and place it on the hood latch
-
STEP 3
-
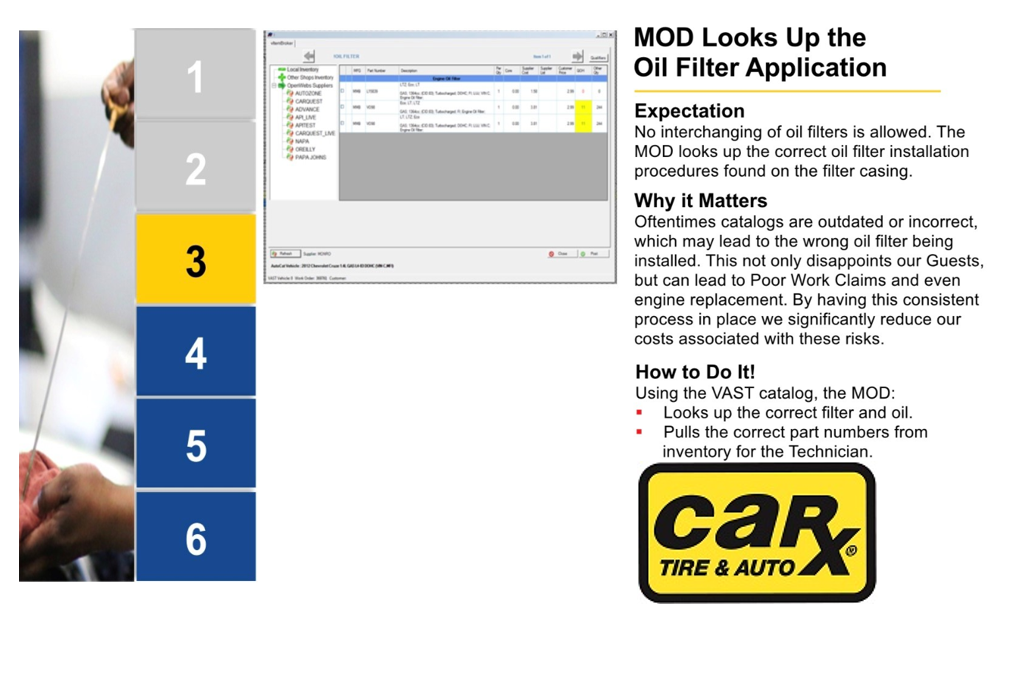
MANAGER LOOKS UP THE OIL FILTER APPLICATION
-
WHY IT MATTERS? Often times catalogs are outdated or incorrect, which may lead to the wrong oil filter being installed. This not only disappoints our Guests, but can lead to poor work claims and even engine replacement. By having this consistent process in place we significantly reduce our costs associated with these risks.
-
Using the VAST catalog, Manager Looks up the correct filter and oil
-
Pulls the correct part numbers from inventory for the Technician
-
Expectations: No interchanging of oil filters is allowed. The MOD looks up the correct oil filter installation procedure
-
STEP 4
-
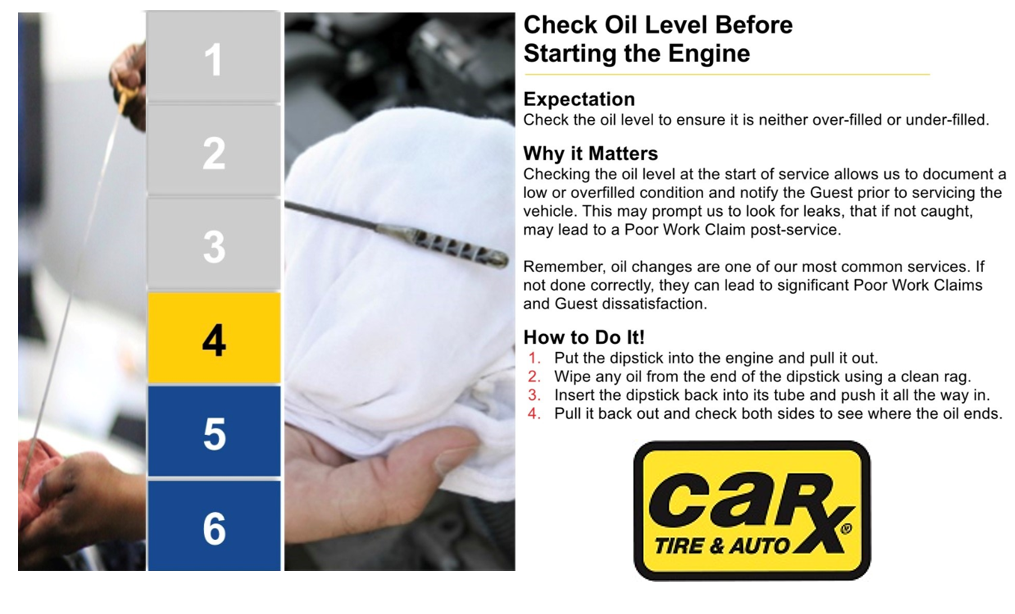
CHECK OIL LEVEL BEFORE STARTING THE OIL CHANGE
-
WHY IT MATTERS? Checking the oil level at the start of service allows us to document a low or overfilled condition and notify the Guest prior to servicing the vehicle. This may prompt us to look for leaks, that if not caught, may lead to a poor work claim post-service.
-
REMEMBER! OIL CHANGES ARE ONE OF OUR MOST COMMON SERVICES. IF NOT DONE CORRECTLY, THEY CAN LEAD TO SIGNIFICANT POOR WORK CLAIMS AND GUEST DISSATISFACTION.
-
Put the dipstick into the engine and pull it out.
-
Wipe any oil from the end of the dipstick using a clean rag.
-
Insert the dipstick back into its tube and push it all the way in.
-
Pull it back out and check both sides to see where the oil ends.
-
Expectations: Check the oil level to ensure it is neither over-filled or under-filled
-
STEP 5
-
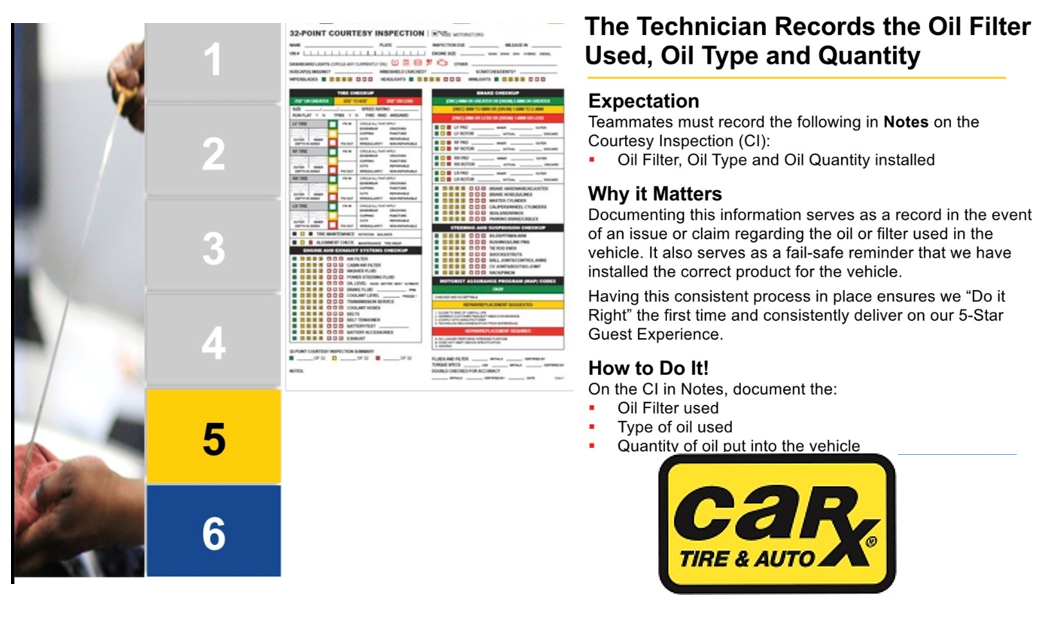
THE TECHNICIAN RECORDS THE OILFILTER USED, OIL TYPE, AND QUANTITY
-
WHY IT MATTERS? Documenting this information serves as a record in the event of an issue or claim regarding the oil filter used in the vehicle. It also serves as a fail-safe reminder that we have installed the correct product for the vehicle.
-
HAVING THIS CONSISTENT PROCESS IN PLACE ENSURES WE "DO IT RIGHT" THE FIRST TIME AND CONSISTENTLY DELIVER ON OUR 5-STAR GUEST EXPERIENCE!
-
Expectations: Teammates must record the following in NOTES on the Courtesy Inspection (CI)
-
Oil Filter
-
Oil Type
-
Oil Quantity Installed
-
STEP 6
-
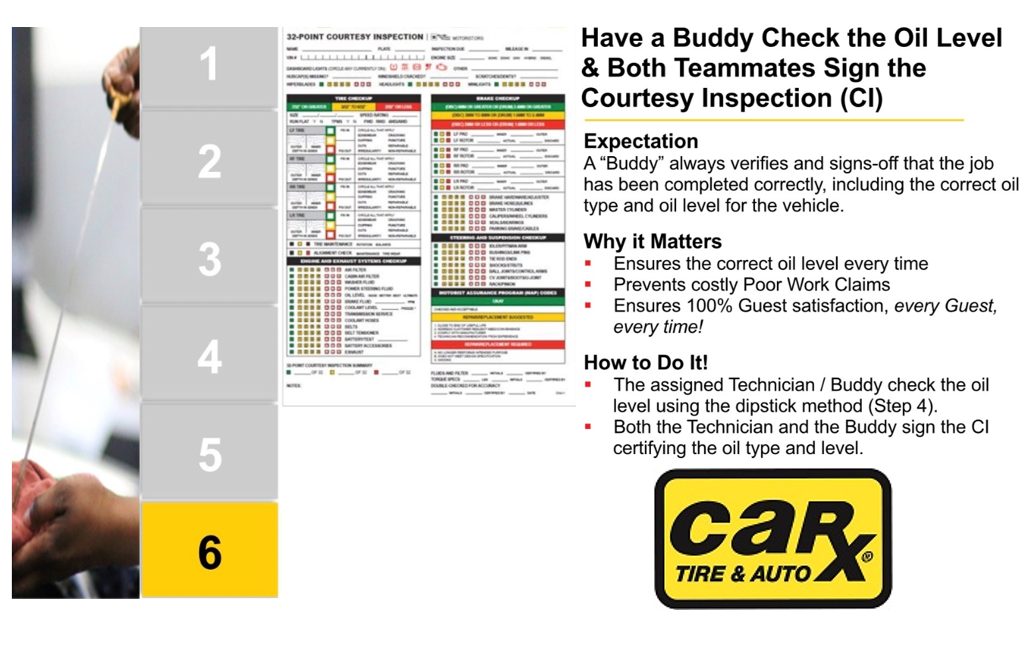
HAVE A BUDDY DOUBLE CHECK THE OIL LEVEL & BOTH TEAMMATES SIGN THE COURTESY INSPECTION
-
WHY IT MATTERS? Ensures the correct oil level every time. Prevents costly poor work claims. Ensures 100% Guest Satisfaction, every Guest Vehicle, Every time!
-
Expectations: A "Buddy" always verifies and signs-off that the job has been completed correctly, including the correct oil type and oil level for the vehicle.
-
Manager verifies: THE OIL LEVEL & BOTH TEAMMATES SIGN THE COURTESY INSPECTION then MANAGER REMOVES CONE
-
DOUBLE CHECK FOR ACCURACY
-
SIGN-OFF
-
SIGNING OFF ON DOUBLE CHECK FOR ACCURACY
EMPLOYEE
-
Technician
-
Technician
-
SIGN AND ACKNOWLEDGE: OIL CHANGE POLICY AND PROCEDURE
MANGER ON DUTY
-
STORE MGR
-
Manager
-
SIGN AND ACKNOWLEDGE: OIL CHANGE POLICY AND PROCEDURE
-
TRAINER
