")


Title Page
-
Inspected by
-
Inspection date
Observations
-
Has there been any reports of any air leaks?
-
have you Identified the area of leak before isolating the power and/or air?
- Yes
- No
- N/A
Safety
-
Have you discharged any stored/potential electrical energy?
-
Compressed Air - Have you isolated the compressed Air?
-
Have you discharged any stored/potential air? (LOTO)
-
Have you filled out as LOTO check sheet?
-
Is there sufficient lighting in the area?
Preparation
-
Confirm The Serial Number Of The Machine S/N: 319 C0500077?
-
Do you have all the relative tools, consumables and checking equipment to perform the service?
-
Are you wearing all the required PPE?
-
Do you have a safe working area?
Running Maintenance
-
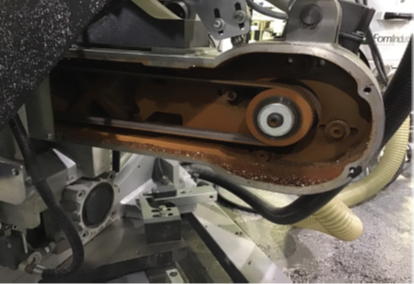
Remove belt cover and clean in and around the housing.
-
Have you cleaned in and around the belt housing?
-
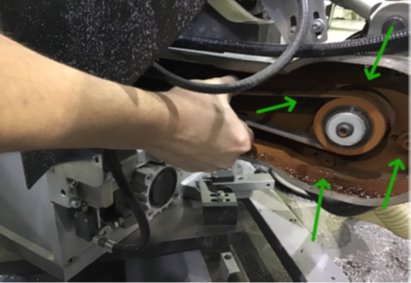
Check tension and tighten. When too loose ‘screeching’
noise can be heard and will also damage belt -
Have you checked the Belt condition and tension?
-
Use threaded bolt as the ‘tensioner’.
Bolt is positioned between motor and frame.
This must be done to both blade motor belts. -
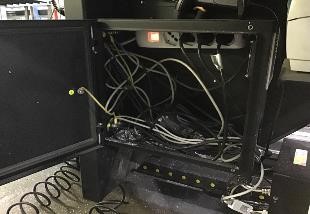
Clean out PC area, removing any dust and debris with a vacuum
-
Have you cleaned the PC base unit housing?
-
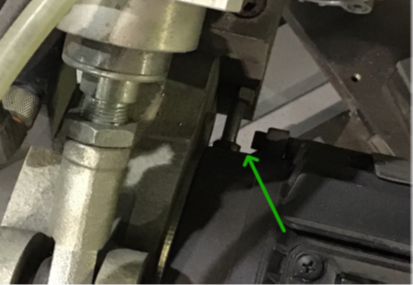
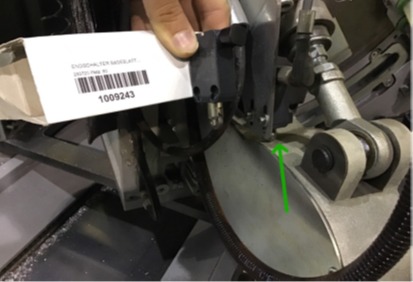
Retraction switch must be inspected
-
Is the switch in a good condition?
-
Check the guard Sensors, and clean around the area.
-
Guard Sensor Tested Working OK?
-
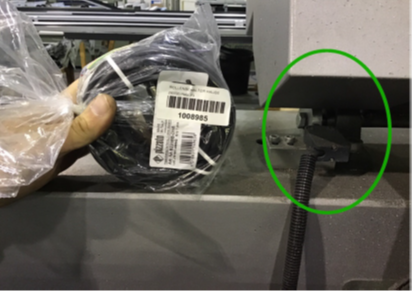
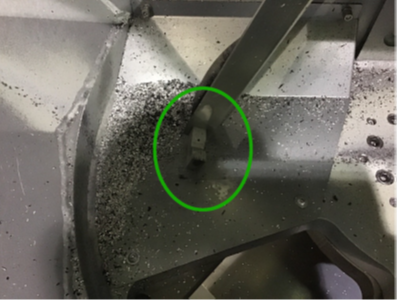
Check all fixings, Sensors and Solenoid Fixings and Clean around areas.
-
Fixing and sensors inspected, and tested working ok?
-
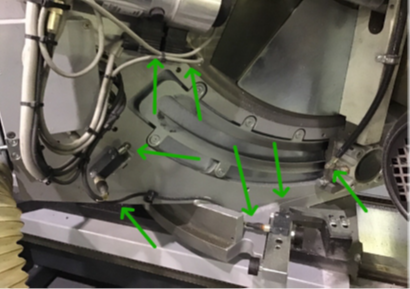
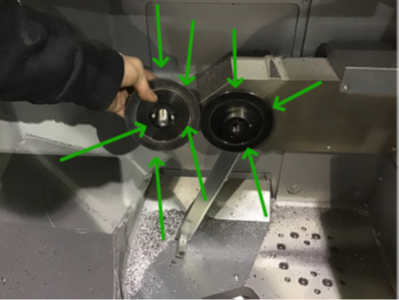
Loading profile arms must be inspected for operation and
solenoid leaks
Rectangle/arrow denotes arm and movement to inspect for
clean operation.
Circle denotes solenoid specific for each arm, you must
remove the cover plate to expose. Check for leaks and
fixing. -
loading arms inspected and tested working ok, with no signs of leaks?
-
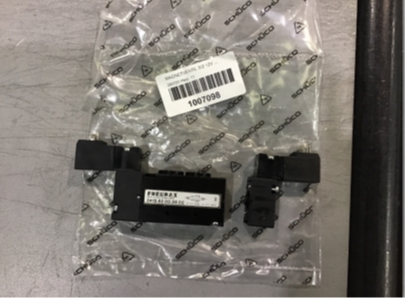
INFORMATION
Profile ARM 1: In this case we removed the faulty coil and
used the new coil onto original body.
Profile ARM 2: Used 2nd spare coil as this arm solenoid
was also leaking.
SAP1007098 QTY.1 -
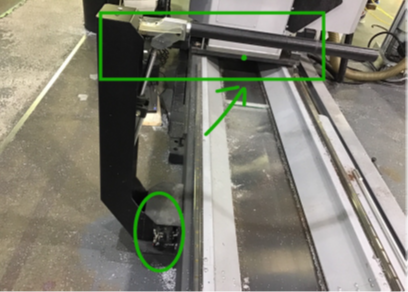
CLEANING THE SAW AREA - Remove left Saw cover and remove blade and clean out.
Clockwise to tighten. -
has the saw area been sufficiently cleaned?
-
Remove flanges and clean like new!!! Vibration is usually
generated here when even small markings are on the
flanges. -
Has this area been well cleaned, and is free from damaged?
-
Have the grease points been full lubricated?
-
Check Lubrication at both nozzles in saw area.
-
Lubrication okay?
-
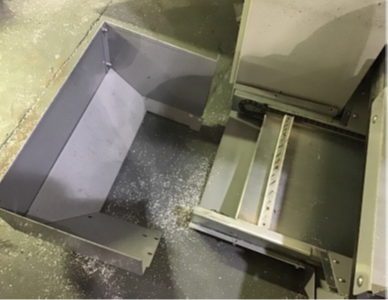
General Cleanliness of machine - blow down and vacuum any part of the machine, to ensure areas are free from swarf and contaminations,
Example -
has the machine been full cleaned and is free of swarf and other contaminations?

General House Keeping
-
Has the area around the machine been fully cleaned?
-
Are the cleaning shadow boards populated?
Spares & Consumables
-
If spares & Consumables have been used, have you emailed stores with a complete list for replenishment?
Finalisation
-
Has the service been completed?
Comments
-
Anything else to report?
-
Note