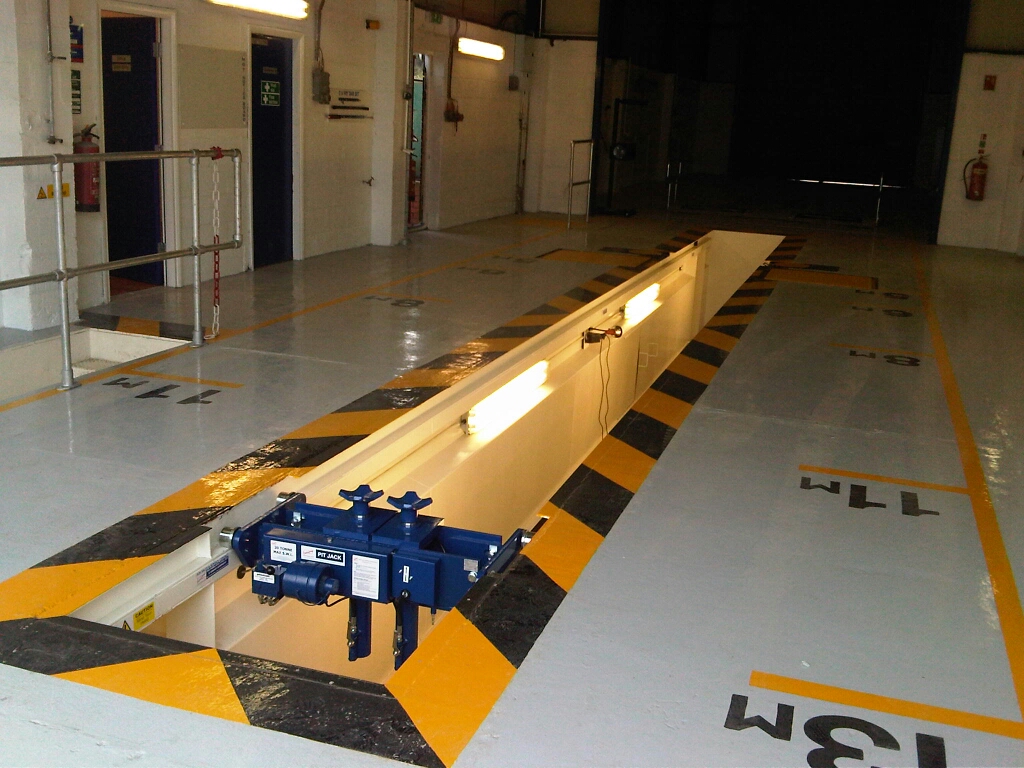
Title Page
-
Site conducted
-
Owner’s Plant No.:
-
Inspection Date
-
Inspector
-
Design Approval:
-
Location of Design Approval:
-
Vessel Serial No.:
-
Manufacturer:
-
Manufacture Date:
-
Owner:
-
Site Contact:
-
Vessel Location:
-
Type / Description:
-
Design Pressure (P): kPa
-
Volume (V) in LTS :
-
PV in MPaL:
-
Hazard Level:
EXTERNAL INSPECTION
-
Mechanical Damage
-
Protective Coating
-
Vessel Supports
-
Welded Seams & HAZ
-
Inspection Opening & Door
-
Branches & Nozzles
-
Connected Pipe Work
-
Drain System
PRESSURE GAUGE
-
Pressure Gauge Range (Working pressure of vessel should read in middle 1/3 of gauge range)
INTERNAL INSPECTION
-
Top/End
-
Shell
-
Bottom/End
-
Welded Seams & HAZ
-
Protective Coating
SAFETY/RELIEF VALVE
-
Relief Valve Setting (kpa)
-
Working Pressure (kpa)
-
Relief Valve Size
-
Relief Valve Flow
-
Manufacture
-
Serial#
-
Model#
-
Part#
-
Test Date
THICKNESS TESTS (mm)
-
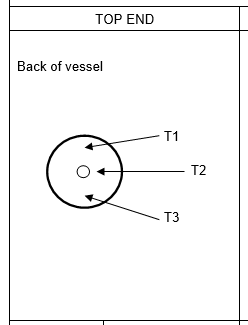
TOP END THICKNESS
-
T1 Thickness (mm)
-
T2 Thickness (mm)
-
T3 Thickness (mm)
-
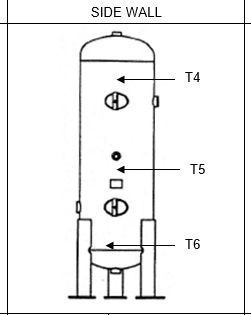
SIDE WALL THICKNESS
-
T4 Thickness (mm)
-
T5 Thickness (mm)
-
T6 Thickness (mm)
-
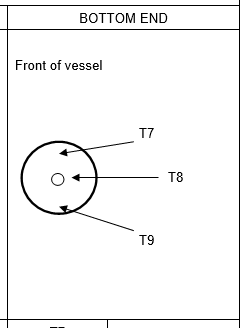
BOTTOM END THICKNESS
-
T7 Thickness (mm)
-
T8 Thickness (mm)
-
T9 Thickness (mm)
SIGN OFF
-
I have inspected the Pressure Vessel in accordance with AS/NZS 3788:2006 and assessed that it is/not suitable for continued operation subject to the following Non-Compliance(s) being rectified: - (Tick means in it is suitable for continued service)
-
Non-Compliance(s):
-
Inspector’s Signature:
-
Next Statutory Inspection Due:


